I still remember the first time I tried to caulk a bathtub. I bought whatever was on the shelf, squeezed it out in a shaky line, tried to smooth it with my finger, and ended up with something that looked like a toddler’s craft project. It dried lumpy, cracked within weeks, and I had to redo the whole thing.
If you’ve ever stared at the caulk aisle feeling completely lost, you’re not alone. There are dozens of options, and almost none of the labels actually explain what makes one better for a beginner than another.
This guide breaks it all down in plain English. You’ll learn which caulk types are easiest to work with, what works best in the bathroom versus the kitchen, and how to avoid the mistakes that make most first attempts go wrong.
Why the Right Caulk Matters More Than You Think
Caulk does a simple job. It seals gaps, keeps water out, and stops mold from creeping in. But not all caulk is built the same, and using the wrong type in the wrong place causes real problems.
Bathroom caulk needs to handle constant moisture and temperature changes. Kitchen caulk needs to survive grease, heat, and occasional scrubbing. Using a general-purpose caulk in a wet shower? It’ll peel off in a few months.
Choosing the right one from the start saves you time, money, and a lot of frustration.
The Two Main Types of Caulk Beginners Should Know
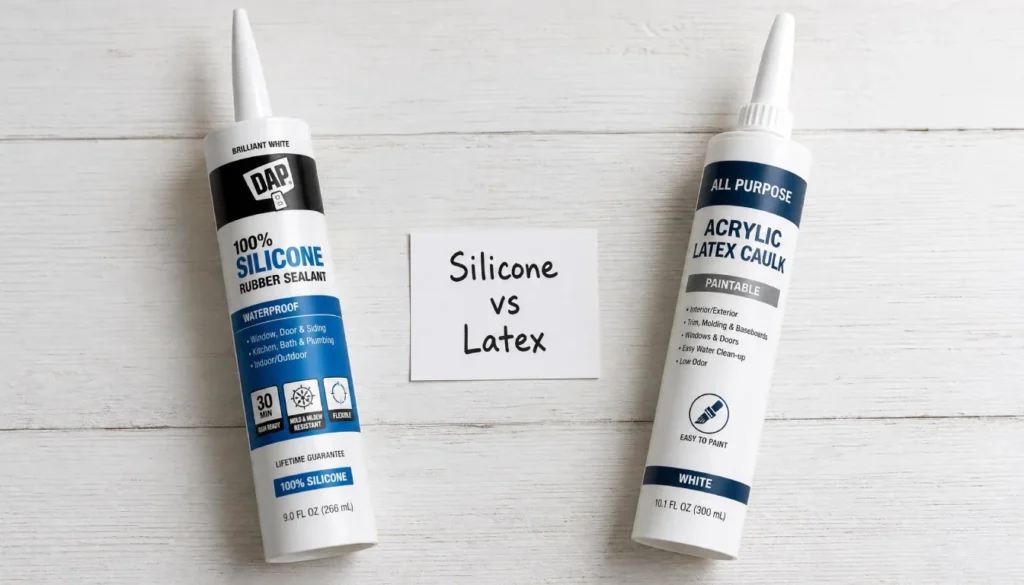
Silicone Caulk
Silicone caulk is fully waterproof and incredibly durable. It bonds to most surfaces, stays flexible, and won’t crack or shrink. It’s the go-to for showers, bathtubs, and anywhere that gets soaking wet.
The catch? It’s harder for beginners to work with. It doesn’t clean up with water. You need mineral spirits or rubbing alcohol to clean it off your hands and tools. It also can’t be painted over, which matters if you’re caulking a wall or trim.
That said, 100% silicone is genuinely the best long-term choice for wet bathroom areas. Once you get the hang of applying it, the results last for years.
Acrylic Latex (or Latex Caulk)
Acrylic latex is the beginner’s best friend. It cleans up with water, applies smoothly, and is much more forgiving if your line goes crooked. It’s also paintable, which makes it great for kitchen trim, backsplashes, and any area you might repaint later.
The downside is that it’s not as waterproof as silicone. In a shower or bathtub where water splashes daily, it won’t hold up as long. But for kitchens, it’s often the smarter choice.
Bathroom vs Kitchen: Which Caulk Should You Use?
Here’s a quick breakdown to help you decide.
| Location | Best Caulk Type | Why |
|---|---|---|
| Shower walls and floor | 100% silicone | Stays waterproof, resists mold |
| Bathtub surround | Silicone or hybrid | Flexible, won’t crack with movement |
| Toilet base | Silicone | Easy to clean, waterproof |
| Bathroom sink | Silicone or hybrid | Handles daily water exposure |
| Kitchen countertop edges | Acrylic latex or hybrid | Paintable, easy to tool |
| Kitchen sink | Silicone | Waterproof and long-lasting |
| Kitchen backsplash tiles | Acrylic latex | Easier to apply and clean up |
| Kitchen window over sink | Silicone or hybrid | Handles occasional moisture |
A hybrid caulk (silicone-latex blend) sits right in the middle. It’s nearly as waterproof as silicone but cleans up with water and can be painted. Many beginners find hybrids the easiest starting point because you get durability without the messy cleanup.
Best Caulk for DIY Beginners: Top Picks by Category
Best Overall for Beginners: GE Supreme Silicone
GE’s kitchen and bath silicone consistently tops beginner reviews. It goes on smoothly, has a manageable working time, and holds up well in wet areas. The nozzle design makes it easier to control the bead size, which helps a lot when you’re just starting.
Best for Bathrooms: DAP 100% Silicone
DAP makes some of the most widely available and trusted silicone caulks for bathroom use. It resists mold and mildew, stays flexible over time, and bonds reliably to tile, porcelain, and fiberglass. For caulking between tile and tub, it’s a solid first choice.
Best for Kitchens: DAP Alex Plus Acrylic Latex
This is one of the most beginner-friendly caulks on the market. It goes on smoothly, tools easily with a wet finger or smoothing tool, and cleans up with soap and water. Since kitchens don’t deal with constant water submersion, the acrylic formula holds up well and can be painted if needed.
Best Hybrid for Both: GE Silicone 2+
If you want one tube that works in both rooms, GE Silicone 2+ is worth trying. It’s a hybrid formula with silicone durability and latex-like cleanup. It’s also paintable, which makes it useful for areas near painted walls or trim.
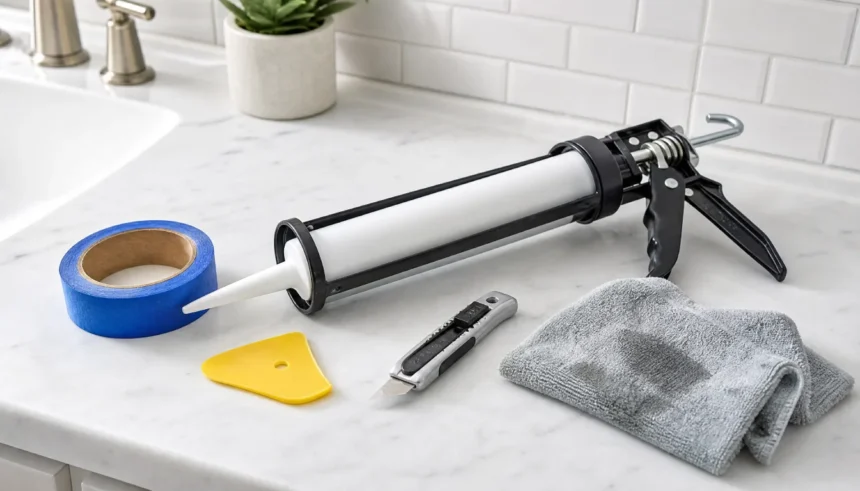
Step-by-Step: How to Apply Caulk as a Beginner
Applying caulk isn’t hard, but the prep work makes or breaks the result.
Step 1: Clean the surface. Remove any old caulk using a caulk removal tool or utility knife. Then clean the area with rubbing alcohol or a mild cleaner and let it dry completely.
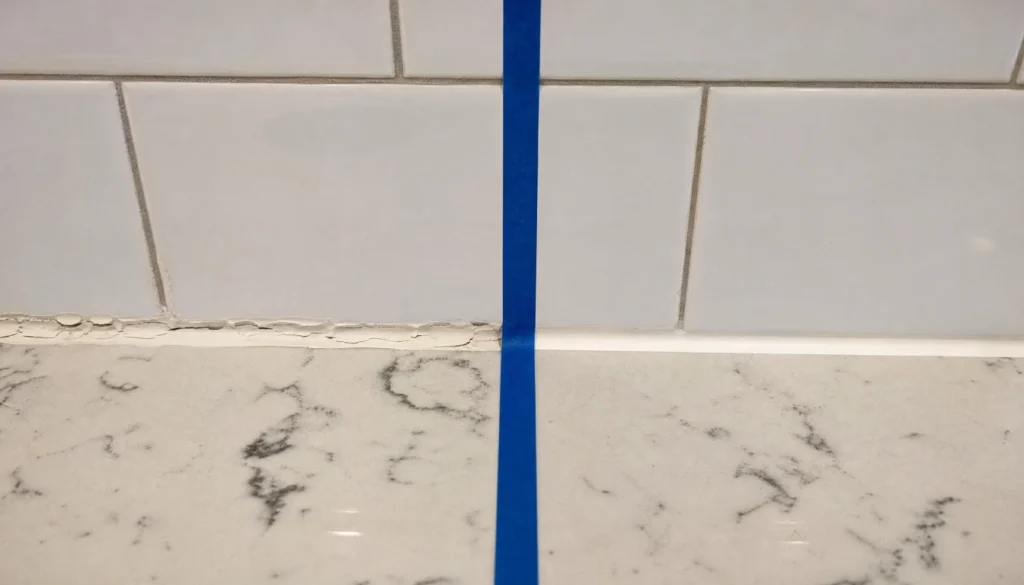
Step 2: Tape it off. Use painter’s tape along both sides of the gap. This gives you a clean line and makes the whole job look more professional without much skill.
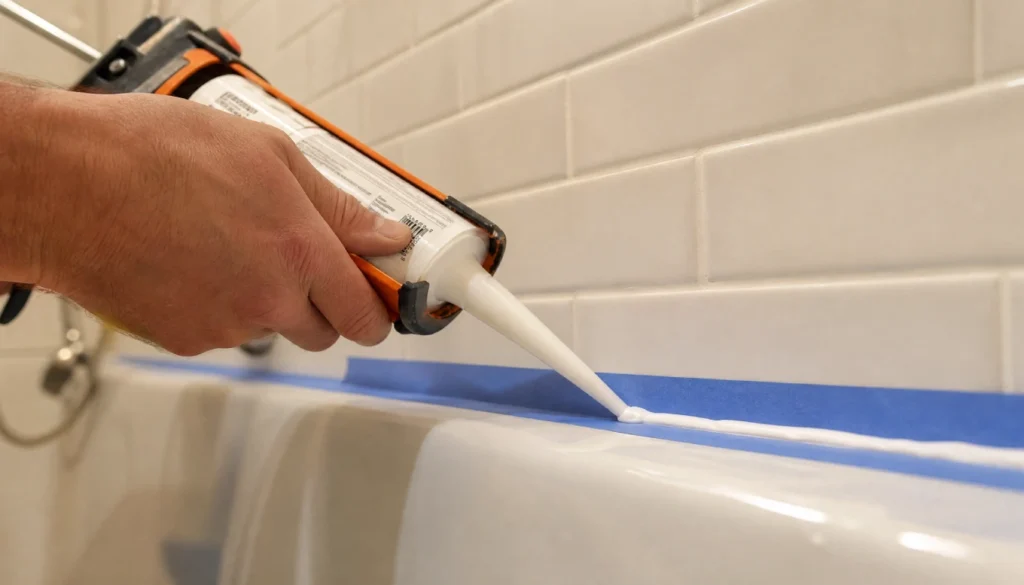
Step 3: Cut the nozzle. Cut at a 45-degree angle to match the gap size. A smaller opening gives you more control.
Step 4: Apply a steady bead. Move the gun at a consistent speed. Don’t stop and start. If you mess up a section, wipe it immediately with a damp cloth before it skins over.
Step 5: Smooth the bead. Dip your finger in water (for latex) or use a smoothing tool. Run it along the bead in one steady motion.
Step 6: Remove the tape. Pull it off before the caulk dries, ideally within 5 to 10 minutes of applying.
Step 7: Let it cure. Don’t touch the area for at least 24 hours, and keep it dry for the full cure time listed on the tube.
Common Caulking Mistakes Beginners Make
Skipping surface prep. If the surface is dirty, damp, or has old caulk residue, your new caulk won’t bond. This is the number one reason caulk peels early.
Cutting the nozzle too wide. A big nozzle opening makes a thick bead that’s hard to control. Start small. You can always apply more.
Trying to caulk over old caulk. This rarely works well. The new caulk won’t bond to the old, and it’ll look messy. Remove the old caulk first.
Moving too slowly. A slow hand means an uneven, clumpy bead. Try to keep a steady pace from start to finish.
Not letting it dry. Silicone typically needs 24 hours before water contact. Rushing this step can cause the caulk to wash out or not seal properly.
Do You Need a Caulk Gun?
Most caulk comes in a tube that requires a caulk gun. For beginners, a basic dripless caulk gun costs around $10 to $15 and makes a huge difference in control.
That said, some caulk comes in squeeze tubes that don’t need a gun. These work well for small gaps and touch-up jobs. They’re a great option if you just need to seal one small area and don’t want to invest in a gun yet.
FAQs
Can a beginner use 100% silicone caulk successfully?
Yes, but it takes a little more preparation. Practice your bead on cardboard first, work in small sections, and keep mineral spirits nearby for cleanup. Silicone doesn’t forgive mistakes as easily as latex, but it’s manageable once you get the feel for it.
Do I need different caulk for the kitchen and bathroom?
Not always, but it helps. Silicone works well in both. The main difference is that kitchens often have painted surfaces and areas where a paintable latex caulk is more useful. For wet zones in either room, silicone or a hybrid is the safer choice.
How long does caulk take to dry in a bathroom vs. a kitchen?
Most caulk is dry to the touch within 30 to 60 minutes. Full cure, meaning it’s fully waterproof and ready for heavy use, usually takes 24 to 48 hours. In a humid bathroom, drying can take longer. Check the label on your specific product.
Can you caulk over old caulk as a beginner?
You can, but it’s not recommended. Old caulk is often cracked or contaminated with mold. Applying new caulk over it usually leads to poor adhesion and early peeling. Take the extra time to remove it properly.
What is the easiest caulk to smooth for someone with no experience?
Acrylic latex caulk is the easiest to smooth because it’s water-based. Wet your finger or a smoothing tool with water, and the caulk stays workable for a few minutes. This gives you time to fix mistakes before it sets.
You’ve Got This
Caulking for the first time can feel intimidating, but the actual skill is more about patience and prep than about technique. Choose the right caulk for your room, clean the surface well, take your time with the bead, and smooth it before it skins over.
For bathrooms, go with a silicone or hybrid formula that resists mold and moisture. For kitchens, an acrylic latex or hybrid gives you easy application and paintable flexibility. If you want one product for both, a quality hybrid caulk covers most beginner jobs well.
Start with a small area, practice your bead control, and don’t stress if it’s not perfect the first time. You’ll improve with every tube.
Have you tried caulking before? Drop a comment below and share what worked, what didn’t, or what questions you still have. I’d love to help you out.