
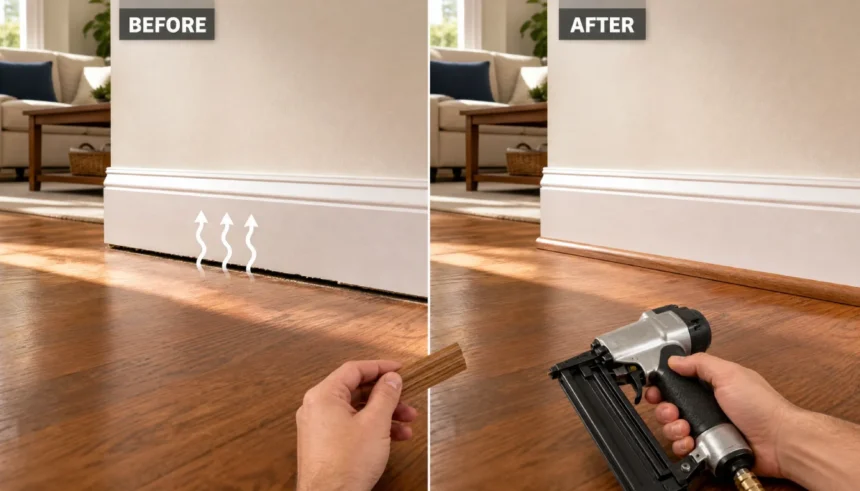
You spot a gap between your baseboard and floor. Maybe it showed up after new flooring went in, or maybe cold air just started sneaking through it. Your first thought is caulk. Your second thought is the mess, the cracking, and the fact that caulk isn’t going anywhere once it’s in.
Good news: you have better options. This guide walks you through five ways to fill the gap between baseboard and floor without caulk, using trim, foam, or peel-and-stick strips. Pick the one that fits your gap size, your floor type, and whether you own or rent.
Why Do Gaps Appear Between Baseboard and Floor?
Floors move. Wood expands and contracts with humidity. Houses settle over years. Even a perfectly installed baseboard can pull away from the floor as the seasons change.
New flooring installs are another common cause. If your installer left extra clearance for expansion, that clearance shows up as a visible gap once the baseboard goes back on.
Older homes have it worse. Foundations shift, subfloors sag, and a quarter-inch gap today can be half an inch in five years if nothing addresses it.
Why Skip the Caulk? 3 Big Reasons
Caulk feels like the obvious fix, but it causes its own problems.
- It cracks. Floors keep moving after you caulk. The seal splits within months, and you’re left with a jagged white line instead of a clean gap.
- It’s permanent and messy. Removing dried caulk means scraping, solvents, and often damage to the baseboard finish underneath.
- It doesn’t stop drafts well. A thin bead of caulk skims the surface. It doesn’t fill deep gaps or block moving air the way foam does.
A few years back, I caulked every baseboard gap in my 1950s house. It looked fine for a month. Then the caulk cracked as the floors shifted with the seasons. I scraped it all out and installed shoe molding instead. That trim has held up for three winters now. Lesson learned.
Tools & Prep: What You’ll Need Before You Start
Before picking a method, measure your gap and note your floor type. That decides which fix works best.
Tools you’ll likely need:
- Tape measure
- Utility knife
- Miter saw or hand miter box (for trim methods)
- Brad nailer or hammer with finish nails
- Wood filler or caulk-free adhesive
- Foam backer rod (for draft-proofing)
- Peel-and-stick gap filler strips (for rentals)
Prep steps:
- Clean the gap of dust, pet hair, and debris.
- Measure the gap width at three points along the wall, since it often varies.
- Note whether your floor is hardwood, floating laminate, or tile. This affects whether you can nail into it.
Method 1: Install Shoe Molding or Quarter Round (The Carpenter’s Fix)
Shoe molding is a thin strip of trim that sits right where the baseboard meets the floor. It’s the most permanent, professional-looking fix on this list.
Why it works: Shoe molding covers gaps up to an inch wide and moves with the floor instead of cracking like caulk does.
Steps:
- Measure each wall run and cut the shoe molding to length with 45-degree corner cuts.
- Dry-fit each piece before nailing, checking that it sits flush against both the baseboard and the floor.
- Nail the molding into the baseboard, not the floor. This lets the floor expand and contract without pulling the trim apart.
- Fill nail holes with wood filler and paint or stain to match.
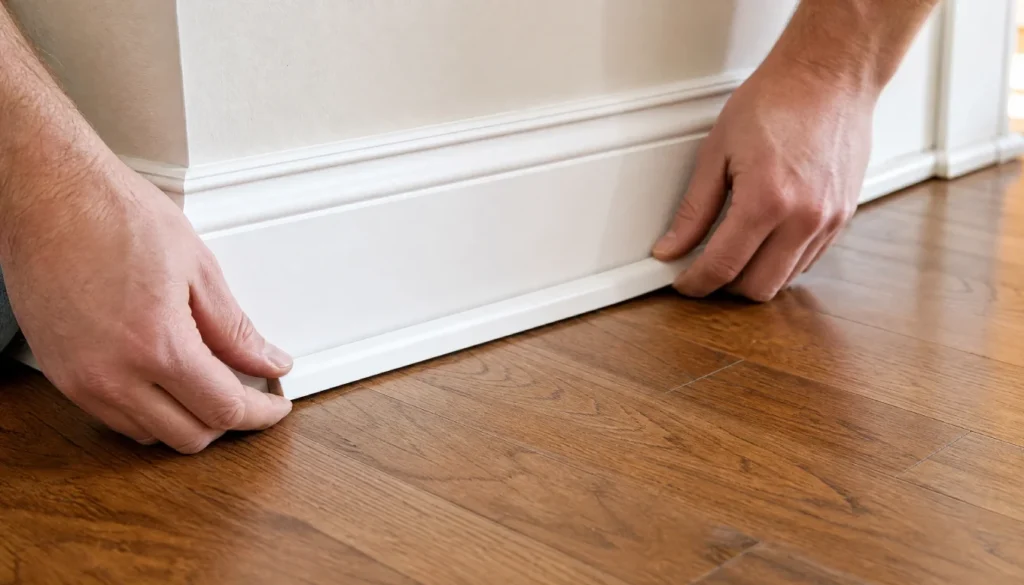
This is the best method if you own your home and want a fix that lasts for years without maintenance.
Method 2: Tuck in Foam Backer Rod – Quick, Cheap & Draft-Proof
If your main problem is cold air, not looks, foam backer rod solves it in minutes. It’s a flexible foam cord sold in various diameters at any hardware store.
Why it works: The foam compresses to fit the gap and creates an actual air seal, something caulk skims over instead of fills.
Steps:
- Measure your gap width and buy backer rod slightly larger than the gap. It needs to compress into place.
- Cut the rod to length with scissors or a utility knife.
- Press it firmly into the gap with a putty knife or your fingers.
- Trim any excess flush with the baseboard face.
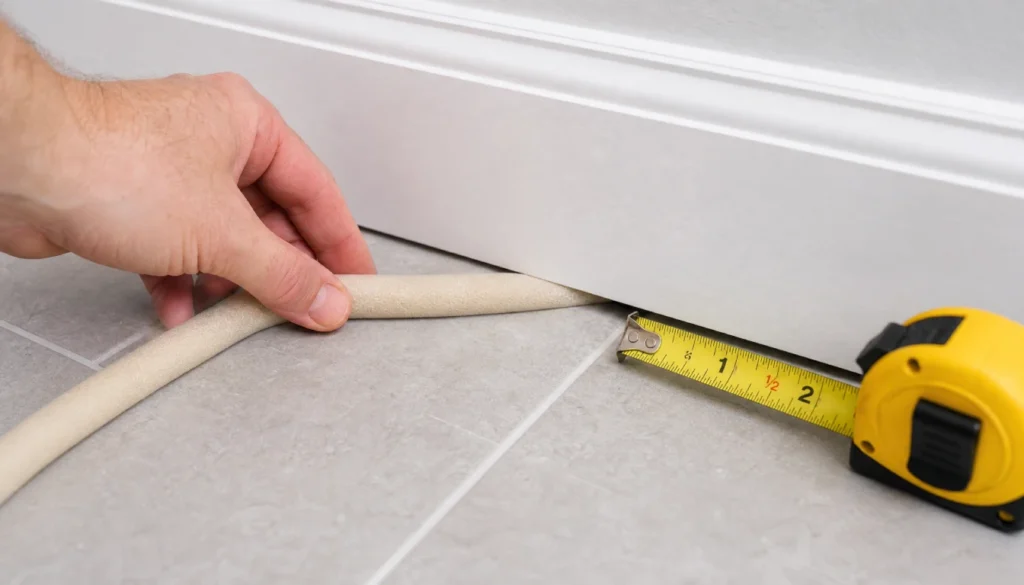
I’ve recommended this to friends dealing with drafty rental apartments. It takes less than ten minutes per room and needs zero tools beyond scissors.
Method 3: Use Peel-and-Stick Gap Filling Strips (Renter-Friendly & Instant)
If you can’t nail anything to the wall or floor, peel-and-stick strips are your best bet. These are flexible silicone or foam strips with adhesive backing, made specifically as a baseboard gap filler strip.
Steps:
- Wipe down the baseboard and floor edge so the adhesive sticks properly.
- Peel the backing and press the strip into the gap, working in short sections.
- Smooth the strip down with your thumb for full contact.
- Trim the ends with scissors at corners or doorways.
Why it works for renters: No nails, no paint, no permanent marks. Most strips peel off cleanly when you move out.
Method 4: Wood Strips & Decorative Rope (For Wide or Uneven Gaps)
Some gaps are too wide or uneven for shoe molding or backer rod. In these cases, thin wood strips or decorative rope trim can bridge the space.
Steps:
- Cut thin wood lattice strips to match each wall length.
- Stain or paint the strips to match your baseboard.
- Glue or nail the strips into the gap, following the baseboard line.
- For a softer look, use twisted cotton or jute rope pressed into the gap instead of wood.
This method takes more patience since gaps are rarely perfectly straight. Measure twice before you cut.
Which No-Caulk Method Is Right for You? (Easy Comparison Table)
| Method | Best For | Gap Size | Renter-Friendly | Time Needed |
|---|---|---|---|---|
| Shoe molding | Permanent, polished look | Up to 1 inch | No | 2-3 hours |
| Foam backer rod | Stopping drafts fast | Under 1/2 inch | Yes | 10-15 minutes |
| Peel-and-stick strips | Rentals, quick cover | Under 3/8 inch | Yes | 20-30 minutes |
| Wood strips or rope | Wide or uneven gaps | Over 1 inch | Depends on install | 3-4 hours |
Common Mistakes That Make Gaps Worse
Even simple fixes go wrong when you skip a step. Watch out for these.
- Nailing trim into the floor instead of the baseboard. This stops the floor from expanding and can cause buckling.
- Choosing backer rod that’s too small. If it doesn’t compress into the gap, it falls out within days.
- Skipping the cleaning step. Dust and debris stop adhesive strips from sticking long-term.
- Ignoring uneven gaps. A gap that’s 1/4 inch in one spot and 3/4 inch three feet away needs a flexible method, not a rigid one.
Frequently Asked Questions
Can I use a baseboard gap filler strip on carpet?
Yes, most peel-and-stick strips work on carpet edges as long as the surface is flat enough for the adhesive to grip.
Will foam backer rod actually stop drafts?
Yes. It compresses into the gap and blocks moving air far better than a thin caulk line does.
What’s the cheapest no-caulk fix?
Foam backer rod. A single roll covers most rooms and costs less than ten dollars at any hardware store.
Do I need special tools for shoe molding?
A miter saw makes clean corner cuts easier, but a hand miter box works fine for a single room.
Can I remove peel-and-stick strips without damage?
Most brands are designed to peel off cleanly, though older adhesive can leave light residue that wipes off with rubbing alcohol.
Final Thoughts: Pick Your Fix & Say Goodbye to Caulk Mess
You don’t need caulk to fix a gap between your baseboard and floor. Shoe molding gives you a permanent, polished result. Foam backer rod stops drafts in minutes. Peel-and-stick strips work if you rent. Wood strips handle the wide, uneven gaps that nothing else covers well.
Whichever no-caulk baseboard gap fix you choose, measure your gap first and match the method to your floor type. That one step saves you a second trip to the hardware store.
Your next step: measure your gap today, pick the method from the table above, and set aside an afternoon to get it done right the first time. If this guide helped, leave a comment with your gap size and I’ll help you pick the best fix.