By James Parker, Street Photographer & Fujifilm X-Photographer
I remember unboxing my silver X100VI in early 2024, walking out into a drizzle, and capturing a frame of a suited man jumping a puddle — all within three minutes. No other camera has ever felt so instantly connected to the rhythm of the street. That moment set me on a path to refine the ultimate street setup for this camera. Two years later, with firmware 2.0, new film simulations like Reala Ace, and AI-powered editing, the X100VI is even more formidable. This guide distils everything I’ve learned: the exact settings, composition secrets, focus recipes, film sims, ethics, and a 2026 workflow that will make your street photography sing.
Whether you’re new to the X100VI or a seasoned shooter looking to wring every drop of performance from that 40MP sensor, you’ll find actionable, field-tested advice. Let’s build your confidence, sharpen your eye, and make photographs that feel like the city itself.
Why the X100VI is a Street Photography Powerhouse
Before we dive into menus, let’s appreciate why this camera dominates the pavement. The leaf shutter is near-silent — essential for candids. The hybrid viewfinder lets you shoot with an optical OVF that shows life outside the frame, so you anticipate moments before they enter. The compact body draws no attention; it looks like a film camera, sparking curiosity instead of suspicion. With 40 megapixels, you can crop aggressively or use the digital teleconverter (50mm/70mm equivalent) without losing print-quality detail. And while the camera isn’t weather-sealed out of the box, the inexpensive PRF-49 filter + adapter ring combo (more later) makes monsoon shooting possible. In 2026, firmware refinements have improved face/eye detection for people moving at normal street pace, and subject detection now recognizes birds and vehicles — handy when you want to layer a bus or pigeon into your frame.
Complete Camera Settings for the Street
I’ll walk you through my exact configuration. You can adjust to taste, but this has been battle-tested from Tokyo to London alleys.
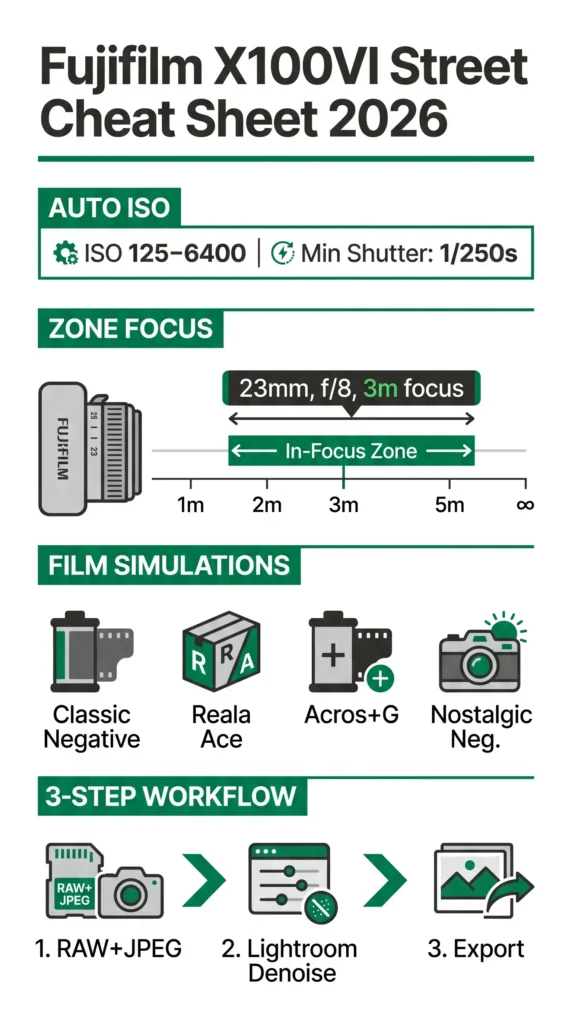
Auto ISO Configuration
Set ISO Auto to Base ISO 125, Max Sensitivity 6400, Min. Shutter Speed 1/250s. This freezes walking people in daylight and gives you acceptable noise in dim conditions. For static scenes or intentional blur, I temporarily set Min. Shutter to 1/60s via the Q menu.
- Why 1/250s? Street life rarely stays still. A person’s micro-gestures — a hand moving, a coat flapping — are crisp at 1/250 and f/4–f/8. At night, I let ISO climb to 6400; the X-Trans 5 HR noise looks organic and can be cleaned beautifully with 2026 Lightroom AI Denoise.
Aperture Priority and Manual Controls
I live in Aperture Priority with the aperture ring on the lens. For layered street scenes, I use f/8 (everything from 2m to infinity in focus with 23mm). For subject isolation, f/2–f/2.8. Shutter speed is handled by Auto ISO. Exposure Compensation dial sits at 0 most of the time, but I ride -1/3 to -2/3 for high-contrast scenes to protect highlights. The dial’s placement under my thumb is sublime.
Button Customization

Customize the Q Menu (hold the Q button) to this layout:
- Film Simulation, Grain Effect, Color Chrome Effect, White Balance, AF Mode, Photometry, Dynamic Range, Self-Timer (for stealthy waist-level shots). Set Fn1 (top plate) to toggle Face/Eye Detection.
AF-ON button for back-button focusing decouples focus from the shutter — a huge advantage when you want to lock focus and wait for a subject to step into the light. I use it in AF-C with a single focus point.
OVF/EVF Setup for Discreet Shooting
In optical viewfinder mode, enable OVF Bright Frame and ERF (Electronic Rangefinder). The tiny EVF inset shows critical focus confirmation without leaving the real world. For pure stealth, switch to LCD off + EVF only + Eye Sensor, and use the tilting screen at hip height like a vintage Rolleiflex. Power saving aside, it transforms how people react to you — they don’t.
Composition Techniques That Elevate Your Frames
Great street photos aren’t just about settings; they’re about seeing. The X100VI’s 23mm lens (35mm equivalent) is a natural storyteller’s focal length.
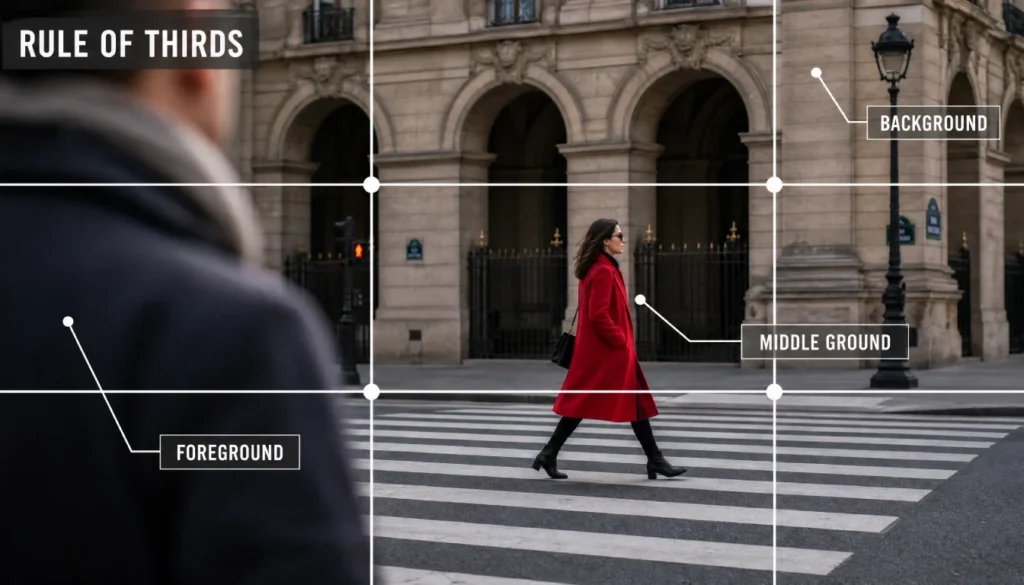
Rule of Thirds & 65:24 Crop Mode
Enable the Grid 9 display. I deliberately place leading eyes on the upper-third intersection. The X100VI’s in-camera 65:24 crop (X-Pan mode) is a secret weapon — it gives a cinematic aspect ratio that turns chaotic streets into clean, panoramic narratives. I often shoot in RAW+JPEG with the crop applied to the JPEG preview so I can visualise in camera.
Using Framing and Layers
Look for natural frames: doorways, arches, bus windows, a gap between market stalls. Layer your image — a foreground element (a blurred shoulder), a middle subject, and a background that adds context. The OVF excels here because you can watch the entire scene and wait for a person to enter your “frame.”
Mastering Focus: AF-C, Zone & Subject Detection
Street photography demands autofocus you trust. The X100VI’s 2026 AF algorithms (firmware 2.0) are faster and stickier than ever.
Zone Focusing for Blazing Speed
My daylight default: Aperture f/8, Manual Focus mode, use the focus scale and blue distance bar on screen. Pre-focus to 3 metres. At f/8 and 23mm, everything from about 2m to infinity is acceptably sharp. I then just walk and click — no focus lag. This is classic zone focusing, resurrected with digital precision. To set it quickly, program the front command dial to adjust focus in MF mode, or use AF Lock on a distant object, then switch to MF.
AF-C + Face/Eye Detection Settings
For candid portraits and moving subjects, I assign AF-C to a custom AF mode: AF-C, Tracking Sensitivity (2), Speed Tracking Sensitivity (2) (balanced), Zone Area 3×3. Enable Face/Eye Detection Auto. The camera will lock onto the nearest face inside the zone. In 2026, the X100VI holds onto a subject even when they briefly turn away — a boon for people weaving through markets.
Snap Focus & MF Assist Tricks
You can simulate a “snap focus” distance: assign a Fn button to Focus Check and use the rear command dial to zoom in to 100% for confirmation. I’ve also set the AFL button (when in AF-S mode) to instantly switch to manual and hold the last AF distance, creating a quick zone focus lock.
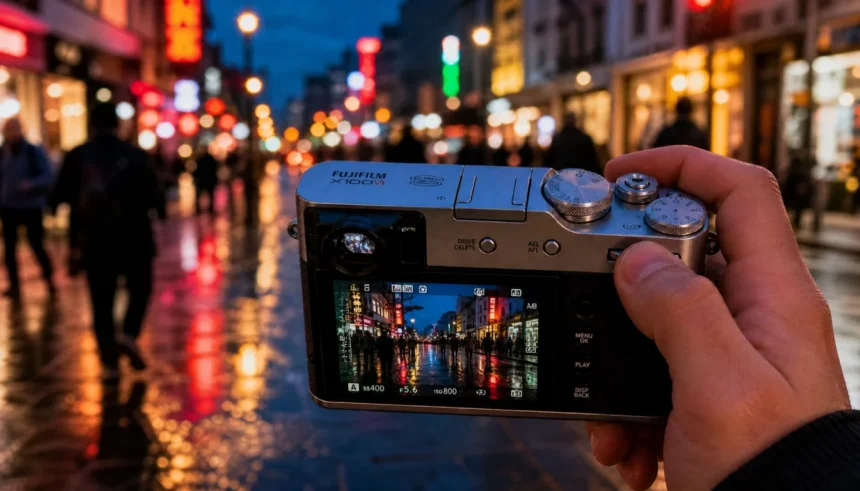
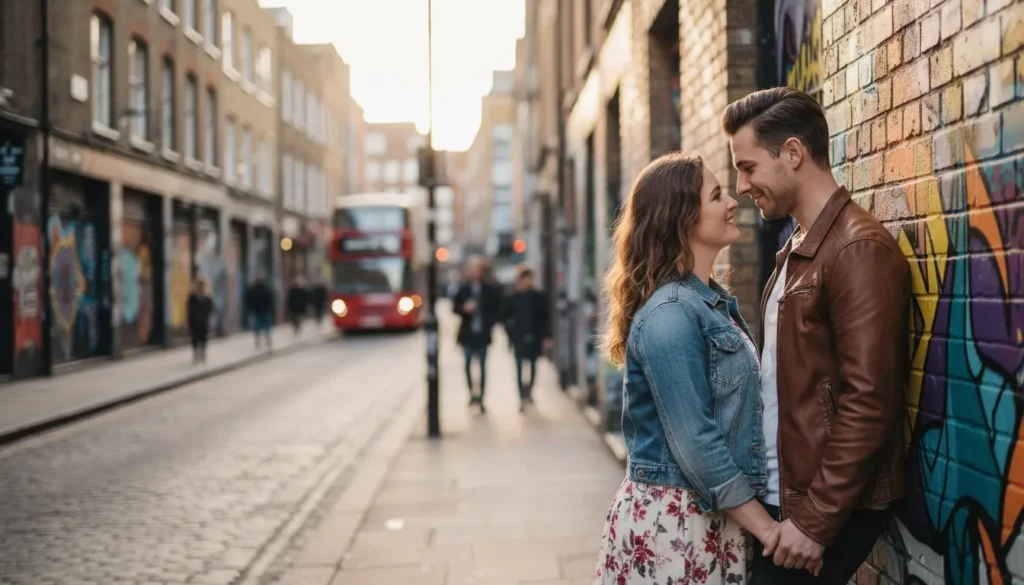
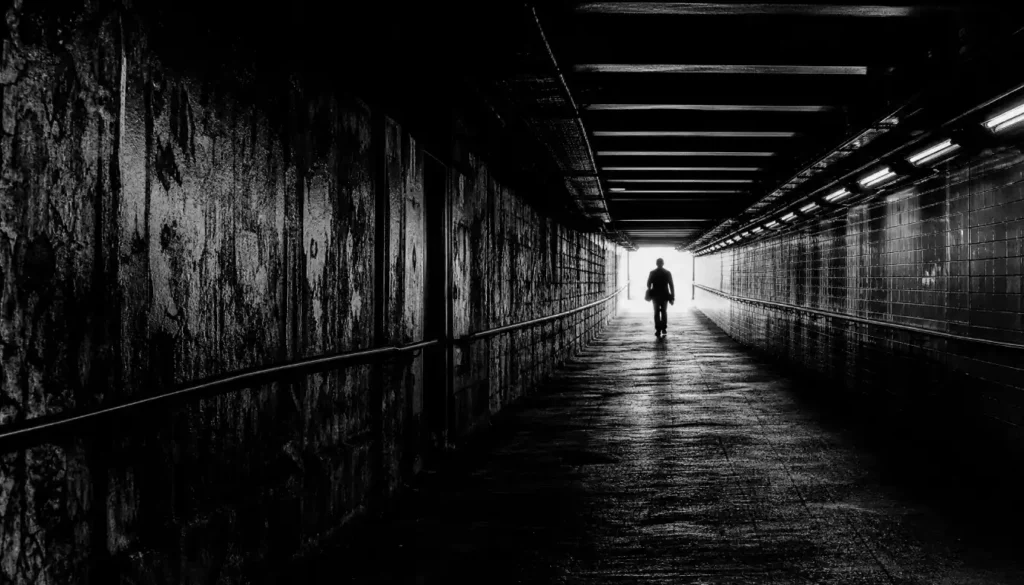
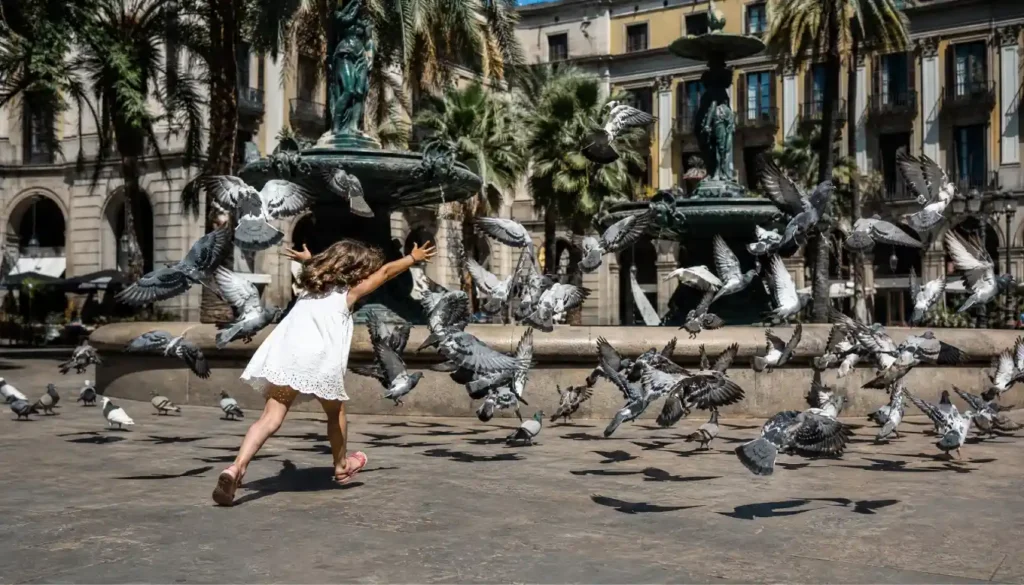
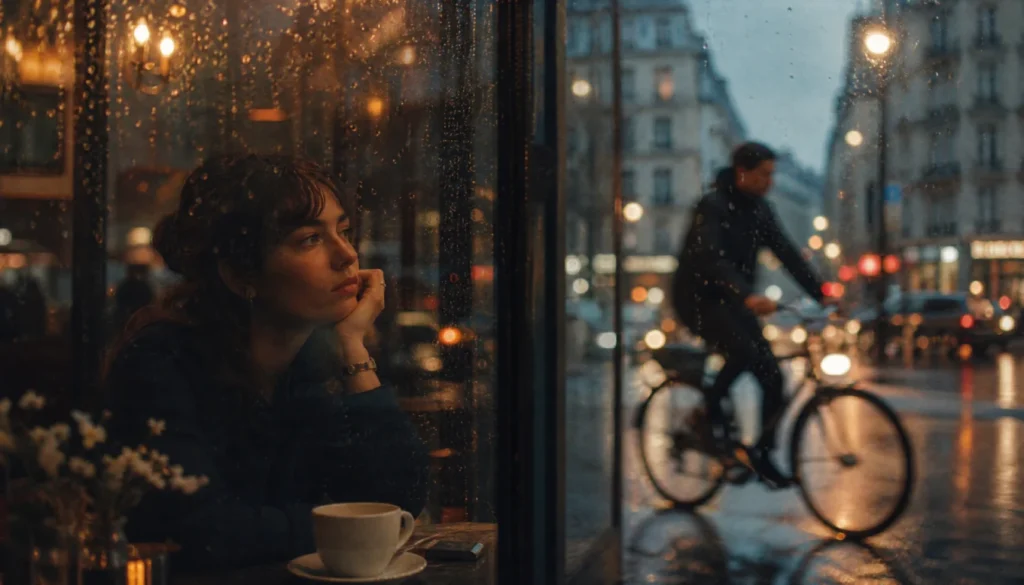
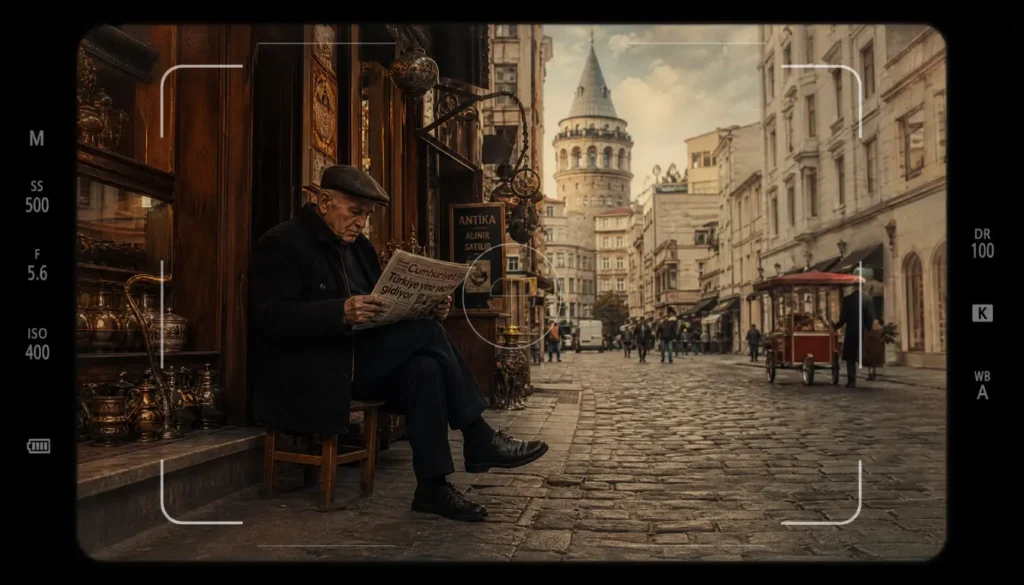
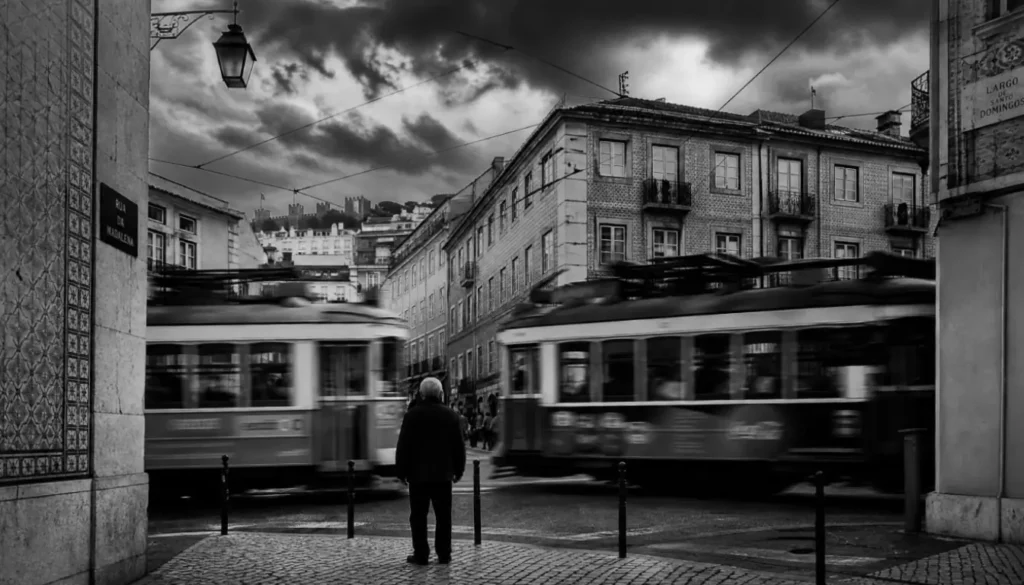
10 Real Street Photos with EXIF Data (2025–2026)
Below are ten frames from my library, with exact settings. Use them as a cheat sheet. (Alt text: street photography example with Fujifilm X100VI)
Best Film Simulation Recipes for Street (2026 Update)
Fujifilm’s color science is why many of us shoot JPEG. With the X100VI, you get the complete 2026 palette, including Reala Ace. My four street staples:
Classic Negative “Portra Street”
- Film Sim: Classic Neg
- Grain: Weak Small
- Color Chrome Effect: Strong
- Color Chrome FX Blue: Weak
- WB: Auto, R:2 B:-4
- Dynamic Range: DR400
- Highlight: -1, Shadow: +1
- Sharpness: -2, NR: -4 Gives a muted pastel cinematic look perfect for overcast city days.
Reala Ace Daylight Urban
- Film Sim: Reala Ace (firmware 2.0)
- Grain: Off
- Color Chrome Effect: Weak
- WB: 5500K, R:0 B:1
- DR: Auto
- Highlight: 0, Shadow: -1
- Sharpness: 0 Faithful, clean colors with a slight coolness — ideal for modern architecture and clean street scenes.
Acros+Grit Black & White
- Film Sim: Acros + Green Filter
- Grain: Strong Large
- Sharpness: +1
- Highlight: +2, Shadow: +3
- NR: -4 Heavy contrast, crushed blacks. I use it at night with an exposure comp of -1 for gritty urban noir.
Nostalgic Negative Rainy Mood
- Film Sim: Nostalgic Neg.
- Grain: Strong Small
- Color Chrome: Strong
- WB: Auto, R:3 B:-5
- DR: DR200
- Highlight: -2, Shadow: -1 Renders wet pavement with amber warmth and a nostalgic glow. My go-to for monsoon season.
Pro tip: Save these as C1–C4 custom settings, so you can switch between them instantly with the Q menu.
Discretion & Comfort: Shooting Unnoticed
The X100VI is already subtle, but how you behave matters more than gear. I stick to silent electronic shutter (menu: Sound & Flash OFF, ES only) when shooting in quiet indoor spaces. The optical viewfinder lets me keep both eyes open — I look like a tourist daydreaming, not a photographer hunting.
Body language: I never lift the camera abruptly. I hang it from a wrist strap and bring it to my eye slowly as if checking the time. Smile after the shot, even if the subject didn’t notice — it defuses tension if eye contact happens. The tilting screen allows waist-level shooting, which is psychologically less confrontational. I often frame using the LCD and tap to focus; people assume I’m chimping.
Weather Sealing in the Urban Jungle
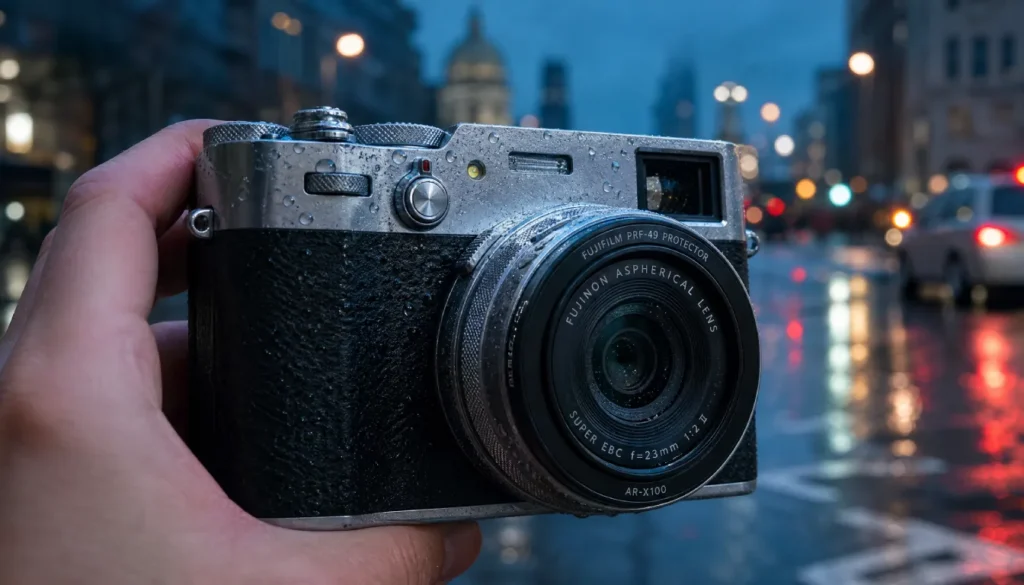
The X100VI body alone is not sealed, but with the Fujifilm PRF-49 protection filter and AR-X100 adapter ring (or third-party Nisi), the lens front is fully protected, and Fujifilm states the camera then achieves dust and moisture resistance. I’ve shot in steady rain for 30 minutes without issue. In heavy downpours, I add a simple rain sleeve. For coastal areas with salt spray, I keep a microfiber cloth in my pocket and wipe down after the session. This $50 combo is essential for 365-day street shooting.
RAW vs JPEG Workflow for the Street Photographer
I shoot RAW+JPEG (Fine) to dual UHS-I cards. The JPEGs I use straight out of camera for quick sharing via Fujifilm XApp to my phone; the RAWs stay for serious editing. For fast-paced street sessions, I often go JPEG-only with a dialed-in film recipe — it teaches discipline and reduces post-processing time. In 2026, Lightroom’s AI-powered Adaptive Profiles and Denoise make RAW files sing with almost zero effort, so I lean RAW when light is tricky.
Import, Cull, and AI Denoise
- Import into Lightroom Classic. Use Auto Stack by Capture Time (1 min) to group bursts.
- Cull quickly: 1 star for keepers. Be ruthless.
- Apply Fujifilm Camera Matching profiles (not Adobe Color) to keep the color intent.
- For ISO 3200+, one-click AI Denoise (Lightroom 2026). It preserves detail while wiping chroma noise cleanly.
Post-Processing: From Memory Card to Final Image
My typical edit takes 60 seconds per image. I apply a preset that mimics my favorite film sim base, then tweak exposure, add a slight vignette, and use a linear gradient to draw the eye. Crop to 4×5 or 65:24 if needed. I often pull the clarity down -5 for a soft, filmic look. For black and white, I convert via Lightroom’s B&W panel and push blue luminance to darken skies.
Export: 2048px long edge, sharpen for screen, sRGB. Publish to the web directly.
The Ethics of Candid Street Portraits
This is the heart of the guide. In 2026, privacy awareness is higher. I follow a simple rule: photograph people in public without permission only when they are anonymous participants in the scene, not the main subject. If someone becomes the hero of the frame, I consider approaching them. A smile, a quick “That light looked beautiful on you, can I send you the picture?” rarely gets a no. I carry small cards with my Instagram; handing one over shifts the interaction from creepy to professional.
Always respect a “no,” and be aware of local laws — in some countries, commercial use requires a model release even for street shots. Never photograph children without explicit parental consent, period. The X100VI’s discretion is a privilege; use it kindly.
Common Mistakes (and How to Fix Them)
- Relying only on Auto ISO with min shutter speed too low leads to motion blur. Set 1/250s as baseline.
- Using f/2 all the time — shallow depth misses layers. Stop down to f/8 for context.
- Ignoring OVF for fear of parallax — the X100VI corrects the bright frame in real-time; learn to trust it.
- Chimping after every shot — you’ll miss the next moment. Review later.
- Overediting film is like JPEGs — they’re designed to be finished. If you want heavy edits, start from RAW.
- Not carrying a spare battery — the NP-W126S drains quicker in 2026 with AI features; always have two.
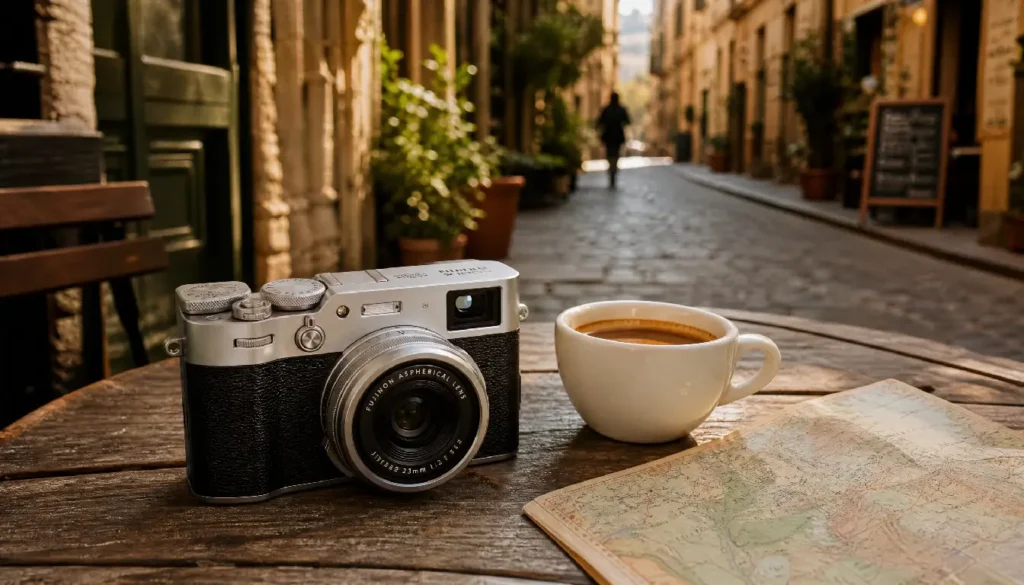
My Personal Street Kit & 2026 Updates
My daily sling bag: X100VI with a leather wrist strap, Nisi filter adapter pre-installed, two batteries, a microfiber cloth, and a foldable rain cover. I also carry a tiny Godox Lux Junior flash for fill when I need a 90s fashion punch. In 2026, I’ve integrated the Fujifilm XApp for geotagging and wireless transfer, and I occasionally use Adobe Firefly to remove distracting tourists from backgrounds (always ethically, on non-journalistic work). The X100VI firmware update brought instant Reala Ace and improved AF, which genuinely made me faster on the street.
Conclusion
The Fujifilm X100VI is the ultimate street photography tool — silent, sharp, and deeply customisable. When you dial in these settings, adopt zone focus for speed, layer your compositions, and treat strangers with respect, you’ll come home with frames that hum with urban life. Gear matters, but your eye and kindness matter more. Now grab your camera, set it up, and make the pavement your canvas.
Loved this guide? Share your first X100VI street shot with me on social using #X100VIMasterStreet — I’d love to see your work. For more, check out our deep dive into Fujifilm film simulation science or the best X100VI accessories for travel.
FAQs
Is the Fujifilm X100VI suitable for street photography at night?
Absolutely. Set Auto ISO up to 6400, use f/2–f/2.8, and a minimum shutter speed of 1/125s. The leaf shutter allows handheld shots at slow speeds, and 2026 AI denoise cleans up high ISO noise beautifully.
How do I set the zone focusing on the X100VI?
Switch to Manual Focus mode, set the aperture to f/8, and use the focus ring to align the distance scale to 3m. The blue bar on screen shows depth of field. Pre-focus, then shoot without refocusing.
What is the best film simulation for street photography on X100VI?
Classic Negative for earthy pastels, Acros+R for high-contrast black and white, and Reala Ace for clean, natural color. Use recipes tailored to light conditions (see guide).
Do I need a weather sealing kit for my X100VI in the city?
Yes, if you shoot in rain or dusty environments. The Fujifilm PRF-49 filter and adapter ring make the lens weather-resistant; the body is otherwise not fully sealed.
Should I shoot RAW or JPEG for street?
JPEG is sufficient if you nail film sim settings and need speed. RAW+JPEG gives flexibility; I use JPEG for quick sharing and RAW for critical edits. With modern AI tools, RAW offers more latitude.