
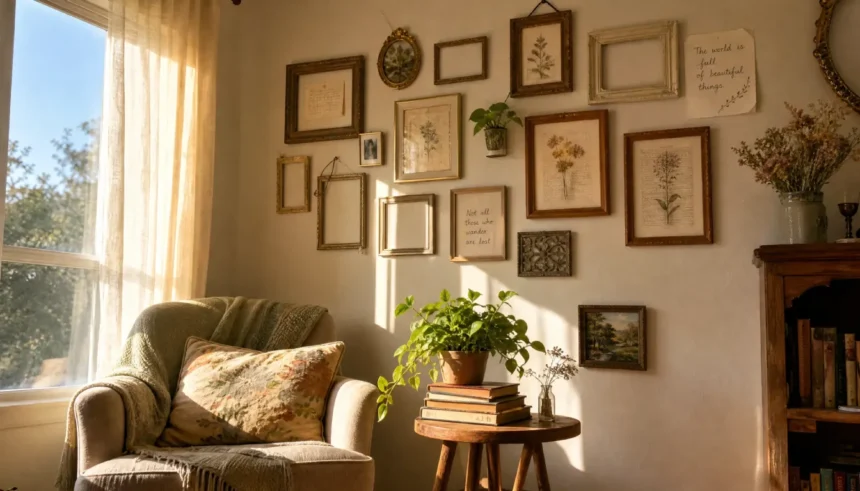
You scroll Pinterest and save photo after photo of bright, styled rooms. Then you look at your own space and your bank account says not today.
Here’s the good news. You can learn how to create a Pinterest-worthy home on $0 using only what you already own. No new pillows. No trip to the store. Just a smarter way of using what’s already in your rooms.
I moved into a rental with zero decor budget and had to figure this out fast. What I learned surprised me. A home doesn’t need more stuff to look better. It needs a better arrangement of what’s already there.
This guide walks you through five steps. Follow them in order, and you’ll have a fresh room by tonight.
Why You Don’t Need a Dime to Get That Pinterest Look
Most Pinterest-worthy rooms aren’t full of expensive items. They’re full of intentional choices. Someone decided where the sofa goes. Someone chose which three objects sit on a shelf instead of ten.
That’s a layout skill, not a shopping skill. You can learn how to decorate without buying anything by copying the logic behind those photos instead of the products in them.
Think about your favorite saved pin. Chances are it isn’t the exact vase or lamp that makes it work. It’s the spacing, the balance, and the mix of heights and textures. Every one of those things is free to recreate with your current stuff.
Step 1: Declutter First. You Can’t Style Hidden Treasure
Before you rearrange anything, clear the clutter. You probably own more good decor than you think. It’s just buried under mail, chargers, and half-used candles.
Walk through each room with a basket. Pull out anything that doesn’t belong on that surface. Set it aside in one pile.
Quick declutter checklist:
- Clear every flat surface completely.
- Sort items into keep, relocate, and donate piles.
- Wipe down the empty surface before you add anything back.
- Only return items you actually love using or looking at.
This step alone changes how a room feels. A clear surface reads as calm and intentional, even before you style a single object.
Step 2: Shop Your Home Like a Stylist (No Wallet Required)
Once your space is clear, it’s time to shop your home decor tips style. Walk from room to room and collect anything that could work somewhere else.
Look at your bedroom, kitchen, garage, and even your closet. A ceramic bowl from the kitchen might be perfect on a coffee table. A scarf from your closet could drape over a chair.
Try this exercise:
- Grab a tray or basket.
- Walk through every room in your home.
- Pick up anything with a nice shape, color, or texture.
- Bring it all to the room you’re styling.
- Lay everything out before you decide where it goes.
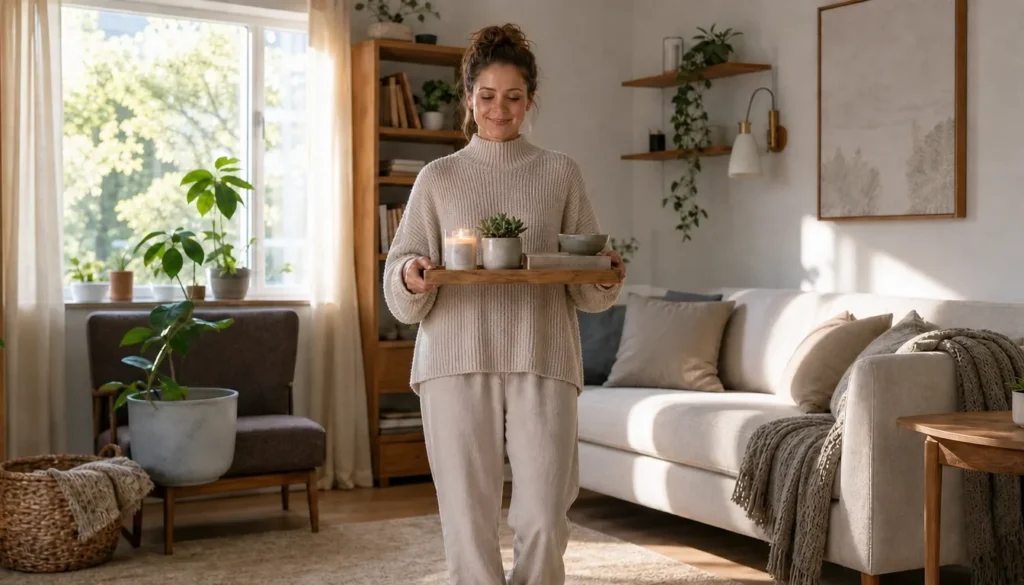
When I tried this in my own apartment, I found a brass candlestick in a drawer and an old woven basket in the closet. Both ended up on my living room shelf. Neither cost a cent, and both got noticed by guests within the first week.
Step 3: Rearrange Furniture to Totally Change the Room
This is where the real transformation happens. You can rearrange furniture to look like Pinterest just by changing angles and distances, not pieces.
Most rooms have furniture pushed flat against the walls. That’s the default, and it’s usually the least interesting option. Try pulling your sofa a few inches away from the wall. Angle a chair toward the center of the room instead of toward a corner.
Layout rules that always help:
- Create a clear walking path through the room.
- Group furniture so people can face each other and talk.
- Leave breathing room around each piece. Don’t push everything to the edges.
- Use a rug to define a seating area, even a small one.
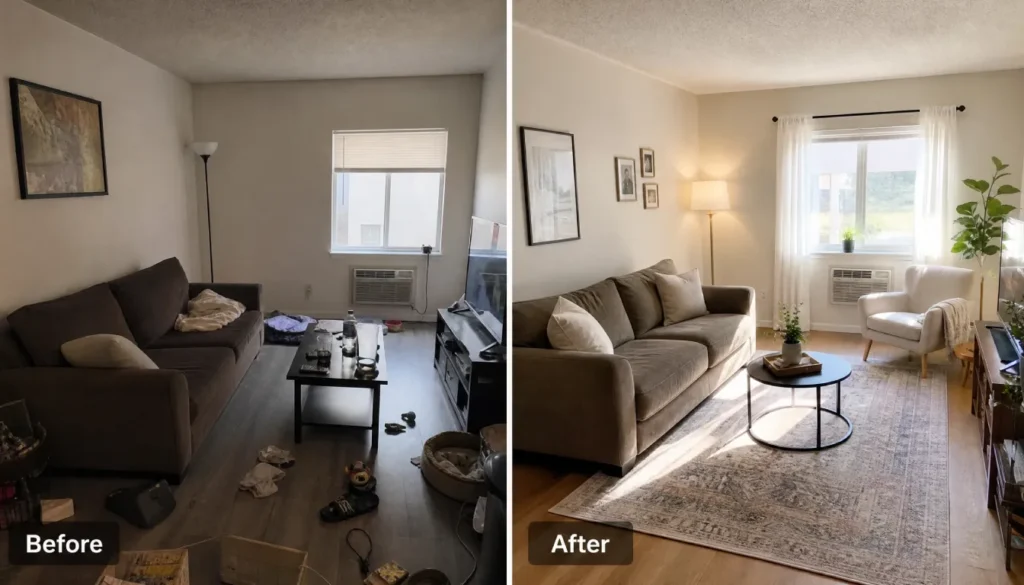
I once helped a friend rearrange her studio apartment using nothing she already owned. We moved her sofa off the wall, angled a side chair, and slid a rug under the coffee table. The room looked 30% bigger just from better spacing. No purchases involved.
Step 4: Style Shelves, Surfaces & Vignettes with What You Have
Now that your furniture has better bones, it’s time to style the details. A shelf or console table looks best with three to five items grouped by height.
Mix a tall item, a medium item, and something flat or low. A stack of books can act as a riser for a smaller object. A plant adds life without costing anything if you already own one.
Quick styling formula:
- One tall item (a vase, a lamp, a plant).
- One medium item (a small frame, a bowl).
- One low or flat item (a book, a coaster, a small dish).
- Leave some space. Don’t fill every inch.
This is one of the easiest zero-dollar room makeover ideas because it only takes ten minutes per surface. Move things around until the grouping feels balanced, not crowded.
Step 5: Create a Gallery Wall Without Buying Anything
A gallery wall instantly reads as “put together,” and you can build one entirely from things you already own. Old frames, book pages, postcards, and even a hat or small mirror all work.
Lay your items on the floor first in the shape you want on the wall. This lets you adjust spacing before you commit to any nail holes.
Simple gallery wall steps:
- Collect frames, art, and flat objects from around your home.
- Arrange them on the floor in your chosen layout.
- Trace the layout on paper if you want a guide for the wall.
- Hang the center piece first, then build outward.
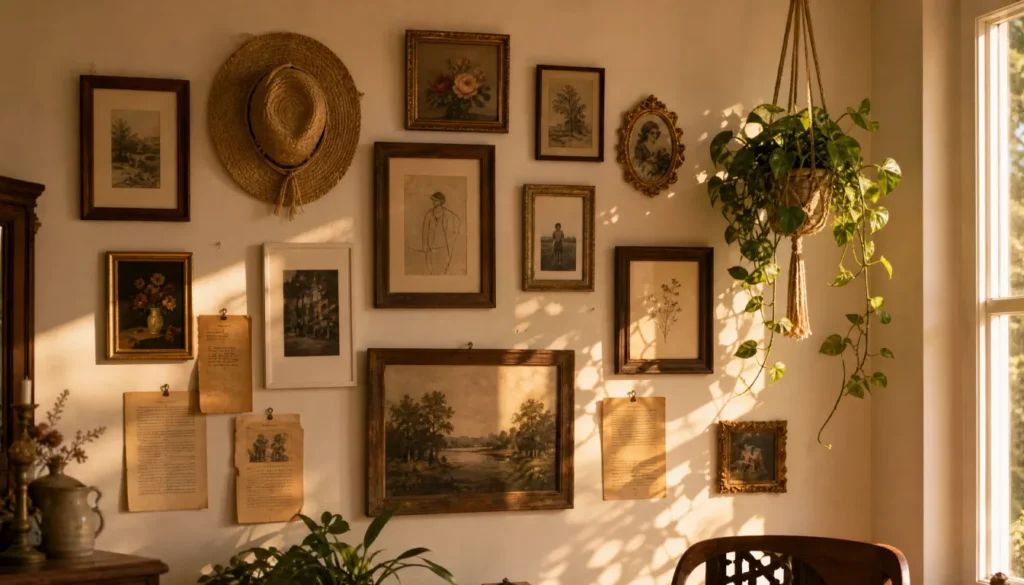
I once used an old scarf, a straw hat, and a few paperback book covers to fill a blank wall in my apartment. A friend who’s obsessed with Pinterest actually asked where I bought the pieces. That moment proved you don’t need money. You need a bit of rearranging bravery.
Room-by-Room Zero-Dollar Makeover Cheat Sheet
Use this quick reference when you’re ready to tackle a specific space.
- Living room: Angle the sofa away from the wall, add a rug, group three decor items on the coffee table.
- Bedroom: Move the bed to a new wall if possible, swap in a scarf or throw from another room, style the nightstand with two items instead of five.
- Kitchen: Clear the counters, display one nice bowl or cutting board, group spices or jars by height.
- Bathroom: Roll towels instead of folding them, add a small plant from another room, clear anything off the counter you don’t use daily.
- Entryway: Add a tray for keys, hang one piece of art at eye level, clear the floor of shoes and bags.
My 3 Rearrange-Only Rules That Always Work
After doing this in three different rentals, I’ve landed on three rules that never fail.
Rule 1: Odd numbers look more natural. Group items in threes or fives instead of twos or fours. Your eye reads odd groupings as intentional.
Rule 2: Height variation beats matching sets. A tall lamp next to a short stack of books looks more interesting than two identical items side by side.
Rule 3: Space is part of the design. Don’t fill every surface. A little breathing room makes the items you do display stand out more.
Common Rearranging Mistakes That Make a Room Look Off (And Free Fixes)
I’ve helped several friends fix their rooms, and the same mistakes show up again and again.
Mistake: Everything pushed against the walls. Fix it by pulling at least one piece a few inches into the room.
Mistake: Matching everything too closely. Fix it by swapping one item for something with a different shape or texture from another room.
Mistake: Too many small items on one surface. Fix it by removing half of them and storing the extras for later rotation.
Mistake: No focal point in the room. Fix it by choosing one wall, shelf, or piece of furniture to be the star, then keep everything else simpler.
Your 24-Hour $0 Home Makeover Challenge
Ready to put this into action? Give yourself 24 hours and follow this order.
- Declutter one room completely.
- Walk your whole home and collect decor you can borrow.
- Rearrange the furniture in that one room.
- Style one shelf or surface using the height formula.
- Build a small gallery wall or vignette with what’s left over.
Take a “before” photo first. You’ll want it later, because the difference will surprise you.
FAQs
Can rearranging really make that much difference?
Yes. Furniture placement affects how big and open a room feels. Most rooms use their space poorly by default, so even small changes create a noticeable shift.
What if I only have a few decor items to begin with?
Focus on step 3 first. Rearranging furniture makes the biggest visual impact and doesn’t require any extra objects at all.
How often should I rotate my decor?
Every few months works well. Swapping items between rooms keeps your space feeling fresh without spending anything.
Is this only for renters?
No. Homeowners can use these same steps. The rearrange-only method works in any space, rented or owned.
Final Thoughts
You now have a full plan for how to create a Pinterest-worthy home on $0 using only what you already own. Declutter first, shop your own rooms, rearrange your furniture, style your surfaces, and build a gallery wall from things with meaning.
None of it requires a shopping trip. It just takes a little time and a willingness to move things around until they click.
Try the 24-hour challenge this weekend. Take a before photo, follow the five steps, and share your results in the comments. I’d love to see what you create with what you already have.