
I’ll be honest with you. I had no idea my dryer was slowly becoming a fire hazard until the day my clothes took almost two full hours to dry and the machine felt hot enough to fry an egg on. I panicked, searched online for help, and every result kept pushing expensive kits and professional services.
I had neither the money nor the patience for that.
So I did what any practical person does. I looked around the house, grabbed a few things, and figured it out. And it worked. Really well, actually.
If your dryer is taking forever, overheating, or smelling musty, this guide is for you. You will learn how to clean your dryer vent without a kit, using only household items you probably already own.
Why a Clogged Dryer Vent Is a Bigger Deal Than You Think
Before we get into the how, let’s talk about the why.
According to the U.S. Fire Administration, dryers cause roughly 2,900 house fires every year. The leading cause? Failure to clean the dryer vent. That is not a small number.
Beyond fire risk, a clogged dryer vent means:
- Clothes take longer to dry, sometimes two or three cycles
- Your energy bill goes up, sometimes noticeably
- The dryer overheats, shortening its lifespan
- You might deal with a thermal fuse issue, which can shut the machine down entirely
Cleaning the dryer duct is not optional maintenance. It is how you keep your home safe and your appliance running.
How to Know If Your Dryer Vent Is Clogged
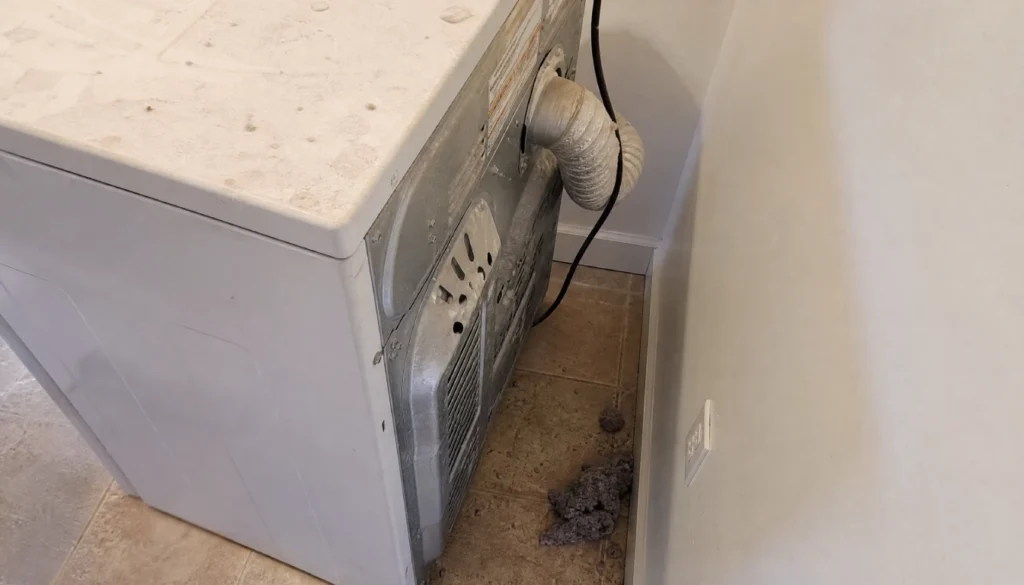
You do not need special tools to figure this out. Here are the most common signs your dryer vent needs cleaning:
- Clothes are still damp after a full cycle
- The outside of the dryer feels very hot to the touch
- There is a burning or musty smell during or after a cycle
- The laundry room feels humid or warm
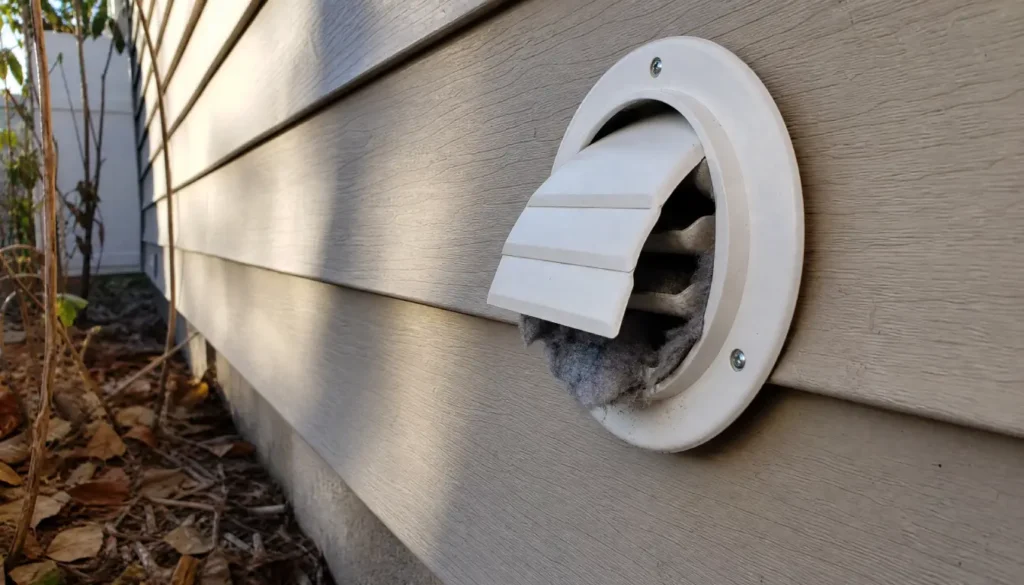
- The exhaust flap outside your home barely moves or does not open
If two or more of those sound familiar, your vent almost certainly has lint buildup.
What Household Items Can You Use to Clean a Dryer Vent?
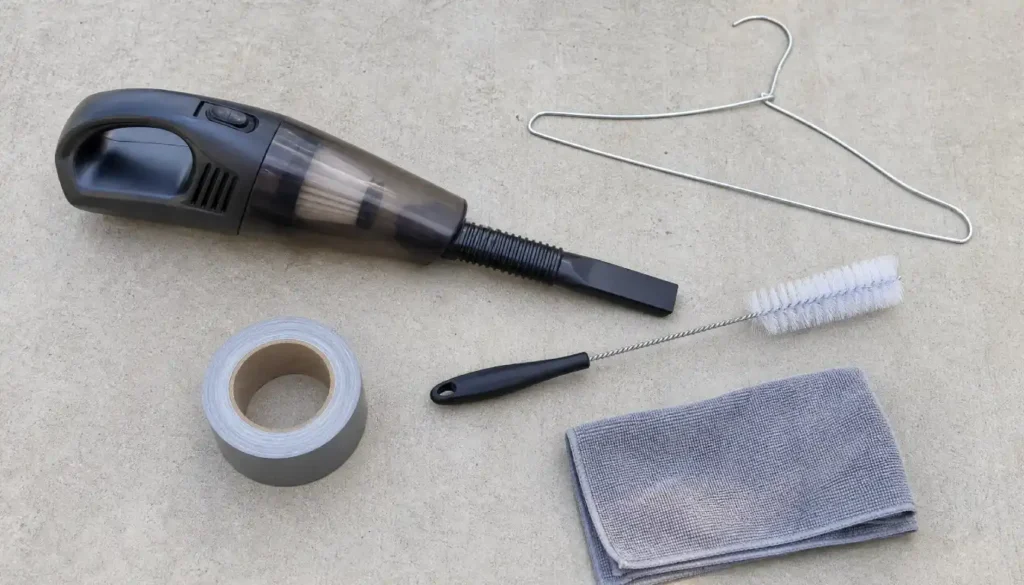
Here is the good news. You do not need to buy anything. These are the household items that actually work:
| Item | What It Does |
|---|---|
| Vacuum cleaner with a hose | Pulls lint out from both ends of the vent |
| Coat hanger (wire) | Reaches into the duct to loosen packed lint |
| Long-handle bottle brush | Scrubs the inside of the duct |
| Leaf blower | Blows lint out through the exterior vent |
| Broom handle or extension pole | Pushes a cloth or brush deeper into the duct |
| Microfiber cloth or old rag | Wipes lint from the opening and surrounding area |
| Duct tape | Reconnects the duct securely after cleaning |
Step-by-Step: DIY Dryer Vent Cleaning Without a Kit
This method works for most standard setups. If your vent runs through the roof or is longer than 25 feet, you may need a professional.
Step 1: Unplug the Dryer and Pull It Away from the Wall
Safety first. Unplug the dryer completely. For gas dryers, do not disconnect the gas line; just carefully slide the machine out enough to access the back.
Step 2: Disconnect the Dryer Duct
The flexible duct connecting your dryer to the wall vent is usually held on with a clamp or foil tape. Loosen it by hand or with a screwdriver. Set the duct aside.
Step 3: Use Your Vacuum to Remove Loose Lint
Take your vacuum hose and insert it as far as it will go into the wall vent opening. Run it for a minute or two. You will likely pull out a surprising amount of lint, especially if it has been a while.
Do the same at the exterior vent outside your home. Have someone hold a flashlight so you can see how blocked it is.
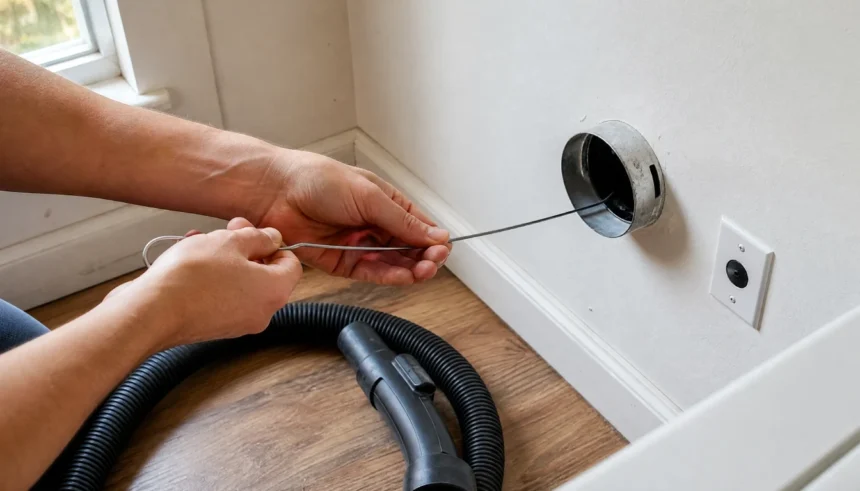
Step 4: Use a Coat Hanger or Bottle Brush for Deeper Lint
Straighten a wire coat hanger and bend one end into a small hook. Insert it carefully into the vent duct and use a gentle, twisting motion to loosen any packed lint. Pull it out, wipe it off, and repeat.
If you have a long-handle bottle brush, that works even better. It scrubs the inside walls of the duct as you push and pull it through.
This is especially useful if you are trying to clean a dryer vent without going on the roof or dealing with a tight laundry closet setup.
Step 5: Use a Leaf Blower for a Final Push
Go outside to where your dryer exhaust exits the house. Disconnect the exterior vent cover if possible. Point your leaf blower into the opening and give it a 10 to 15 second burst.
This blows any remaining lint from inside toward the outside. Have a garbage bag ready because lint will fly out.
This is one of the most effective dryer vent cleaning hacks that does not cost a thing.
Step 6: Vacuum Everything Again
Go back inside and vacuum both ends of the vent one more time. This picks up anything the leaf blower loosened.
Step 7: Reconnect and Test
Reconnect the flexible duct to both the dryer and the wall. Use duct tape if needed to seal any loose joints. Push the dryer back into place and plug it in.
Run a short test cycle with a damp towel. Feel the exterior vent flap to confirm strong airflow is coming out. If it is, you did it.
Helpful Tips for Specific Situations
Apartment or rental? Most apartments have shorter vents that are easier to clean from the inside. Use the vacuum and coat hanger method. If the vent exits through the ceiling or an interior wall without outside access, contact your building manager.
Long dryer duct going to the roof? You can try the leaf blower method from the roof vent opening, but if you are not comfortable going up there, call a professional.
Laundry closet with no room to move? Focus on what you can reach. Even partial cleaning of the first few feet of duct improves airflow significantly.
Seniors or anyone with mobility concerns? Skip pulling out the dryer entirely. Access the exterior vent from outside and use a leaf blower or long brush to push lint inward, then vacuum it up from the laundry room floor.
Mistakes to Avoid When Cleaning Your Dryer Vent
- Do not use water or a garden hose inside the duct. Wet lint is harder to remove and can lead to mold.
- Do not use foil tape on the flexible duct itself, only at the joints where it connects to the wall.
- Do not skip the exterior vent. That is often where the biggest clogs hide.
- Do not use a plastic or ribbed flexible duct if yours is old and crinkled. Replace it with smooth metal duct for better airflow.
How Often Should You Clean Your Dryer Vent?
Most experts recommend cleaning your dryer vent at least once a year. If you do multiple loads per week or have a long duct run, clean it every six months.
Between cleanings, clean your lint trap after every single load. It takes ten seconds and catches up to 25% of lint before it ever reaches the vent.
Frequently Asked Questions
Can I clean my dryer vent without a kit?
Yes, absolutely. A vacuum, coat hanger, and leaf blower handle most standard cleanings with no kit required.
What household items work best for cleaning a dryer vent?
A vacuum with a long hose is the most useful. Pair it with a straightened wire coat hanger or a bottle brush for deeper cleaning.
How do I know if my dryer vent is completely clear?
After cleaning, run the dryer and check the exterior vent flap. It should swing open freely from strong airflow. If it barely moves, there may still be a blockage.
Is it safe to clean the dryer vent yourself?
Yes, for most setups. As long as you unplug the machine and work carefully, DIY dryer vent cleaning is safe and very effective.
How long does it take to clean a dryer vent without a kit?
Plan for 30 to 60 minutes, depending on how long your duct is and how clogged it is. A lightly maintained vent takes under 30 minutes.
You Can Do This
Dryer vent cleaning sounds intimidating until you actually do it once. After that, it is just another item on your annual home maintenance list.
You do not need a special kit. You do not need to call a professional every time. The tools you already own are enough to keep your dryer running well and your home safe.
If this guide helped you, share it with someone who has been putting off this task. Leave a comment below if you tried any of these methods. I would love to hear how it went for you. And if you ran into something tricky with your specific setup, ask away, because someone reading this probably has the same question.
Take care of your home. It will take care of you.