
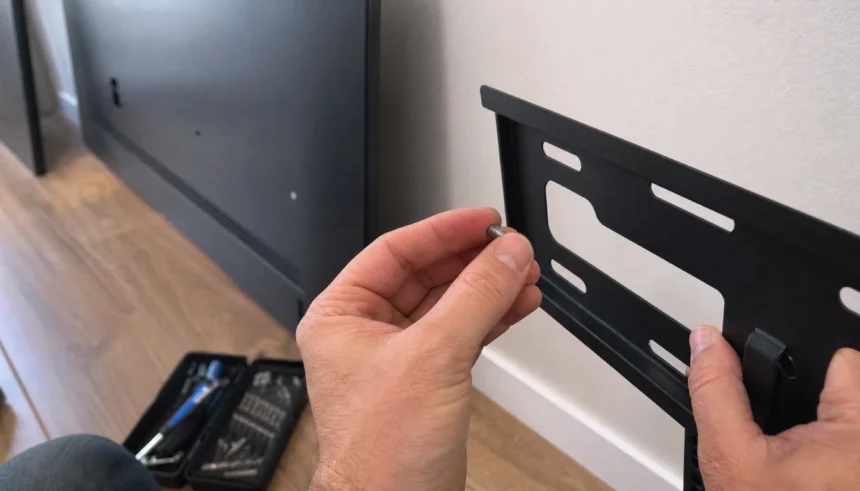
Three years ago, I mounted my first TV. I stood on a wobbly chair, held a 55-inch screen against the wall with one arm, and realized I had no idea what size screws I was even holding. I grabbed whatever came in the box and hoped for the best.
That TV slid an inch to the left the next morning. Not a full fall. Just enough to make my stomach drop.
If you’re standing in a hardware aisle right now, staring at a wall of screws and feeling completely lost, I get it. The TV wall mount screw size question sounds simple until you’re actually holding the bracket. This guide walks you through exactly what to check, what to avoid, and how to get it right the first time.
Why Screw Size Actually Matters Here
A TV isn’t light. Even a thin OLED panel puts real weight on four small screws. If those screws are too short, too thin, or the wrong type for your wall, gravity eventually wins.
The scary part is that a wrong screw doesn’t always fail right away. It can hold for weeks. Then one day, while you’re watching something, it just doesn’t anymore.
Getting the TV mount screw size right isn’t about being extra careful. It’s about matching hardware to a specific job. That’s it.
Start With Your TV’s VESA Pattern
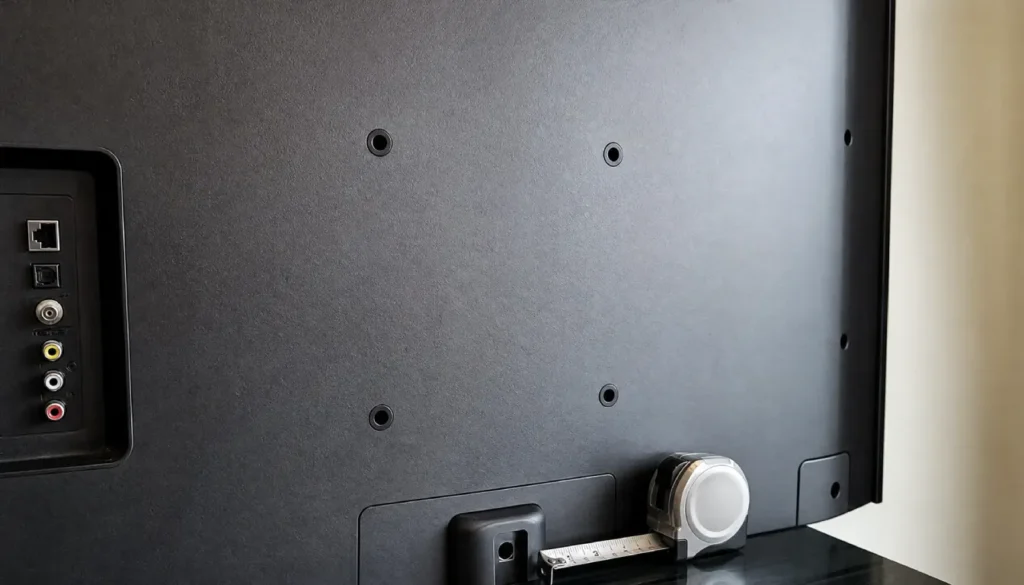
Before you even think about screw length, you need your VESA number. This is the pattern of holes on the back of your TV, measured in millimeters.
Flip your TV over and look for four holes in a square or rectangle shape. Common patterns include 100×100, 200×200, and 400×400. Bigger TVs usually have bigger VESA patterns.
Your TV’s manual lists this number. So does the box. If you’ve lost both, a quick search of your TV model and “VESA” will get you the answer in seconds.
Quick VESA Screw Size Chart
| VESA Pattern | Typical Screw Size | Common TV Size |
|---|---|---|
| 100×100 | M4 | 32 to 40 inches |
| 200×200 | M4 or M6 | 40 to 55 inches |
| 300×300 | M6 or M8 | 50 to 65 inches |
| 400×400 | M8 | 60 to 85 inches |
| 600×400 | M8 | 75 inches and up |
This chart gives you a starting point. Your exact TV mount screw size can still vary by brand, so treat it as a guide, not gospel.
The M4, M6, M8 Confusion (Explained Simply)
These letters and numbers scare people off, but the idea is easy. The letter M means metric. The number after it is the diameter of the screw in millimeters.
So an M4 screw is 4mm wide. An M8 is 8mm wide. Bigger TVs need bigger, stronger screws because they carry more weight.
Here’s the part people miss. The diameter matters, but so does the thread pitch, which is how tight the spiral grooves are spaced. Most universal mount kits already match the correct pitch, so if you’re using the kit that came with your mount, you’re usually safe.
What About Screw Length?
This is where most mistakes happen. A screw that’s too long can push straight through the back of your TV and crack the screen or hit internal components. A screw that’s too short won’t grip enough to hold the weight safely.
As a general rule, you want the screw to go in deep enough to feel snug, but stop before you feel resistance from the inside of the TV casing. Most TV screws only need to go in 8 to 12mm.
How to Check Screw Length Before Mounting
- Hold the screw next to the mounting bracket without inserting it
- Compare it to the spacer if your mount includes one
- Check your TV manual for a maximum screw depth
- Hand-tighten first; never force it
- Stop immediately if you feel resistance you didn’t expect
The Most Common TV Wall Mount Screw Mistakes
I’ve made a few of these myself, so consider this list a little confession alongside the advice.
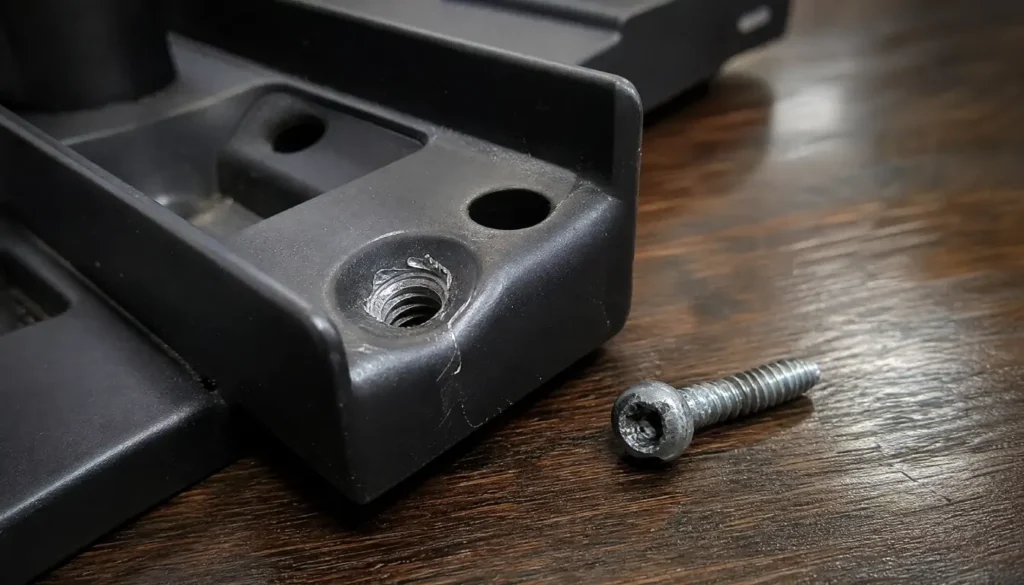
Using drywall screws instead of TV mount screws. They look similar, but drywall screws aren’t designed to handle side-to-side pressure the way TV mounting bolts are. This is one of the fastest ways to end up with a stripped hole.
Guessing the size instead of checking the VESA pattern. It feels faster in the moment. It rarely is.
Overtightening the screws. Tighter isn’t always safer. Overtightening can crack the plastic housing around the mounting holes, especially on lighter TVs.
Ignoring the wall type. The screw connecting your bracket to the TV is only half the equation. The screws going into your wall need to match your wall type too.
Skipping the spacer. Some brackets need a spacer between the TV and the mount for proper clearance. Skip it, and your screws might not sit right even if the size is correct.
Matching Screws to Your Wall Type
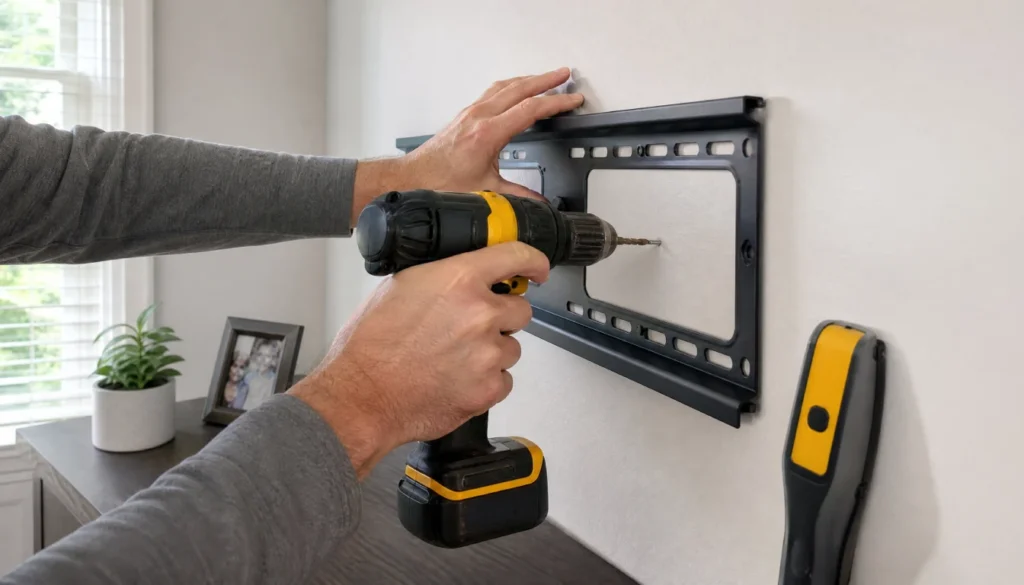
Your TV’s screws are one piece of the puzzle. The screws holding the bracket to the wall matter just as much, maybe more.
| Wall Type | Recommended Hardware |
|---|---|
| Wood stud | Lag bolts, at least 2.5 inches long |
| Drywall only (no stud) | Heavy-duty toggle bolts rated for TV weight |
| Concrete or brick | Concrete anchors with a hammer drill |
| Metal stud | Self-tapping metal screws rated for the stud gauge |
| Plaster and lath | Toggle bolts, avoided if possible due to fragility |
Whenever you can, mount into a stud. It’s the strongest, most reliable option, and it removes most of the guesswork around weight limits.
What If You Lost Your Original Screws?
This happens more than you’d think. Moving, storing, or borrowing a mount can leave you without the exact screws you need.
The good news is TV mount screws are fairly standard. Bring your TV model number to a hardware store, or check the VESA chart above to buy a matching universal set. Most stores sell small multi-packs with a few different sizes so you can test fit.
Signs You Have the Wrong Screw Size
- The screw spins freely without tightening
- You feel resistance before the screw is fully seated
- The TV sits unevenly on the mount
- There’s a visible gap between the TV and the bracket
- The screw head doesn’t sit flush
If you notice any of these, stop and double-check your VESA pattern and screw length before continuing.
A Simple Step-by-Step Approach
- Find your TV’s VESA pattern in the manual or on the TV itself
- Match that pattern to the screw size chart above
- Confirm your wall type and choose the right wall anchors
- Do a dry fit by hand before using a drill
- Tighten evenly, checking both sides as you go
- Give the TV a gentle wiggle test once mounted
That wiggle test at the end matters more than people think. If anything feels loose, it’s much easier to fix before you’ve hung a heavy screen off it.
FAQs
What size screws do I need for a 55-inch TV wall mount?
Most 55-inch TVs use a 200×200 or 300×300 VESA pattern, which typically takes M6 screws. Always confirm with your TV manual since brands vary slightly.
Can I use drywall screws to mount a TV?
It’s not recommended. Drywall screws aren’t built for the pull and shear forces a TV puts on a wall. Use screws made for TV mounts or wall anchors rated for the weight.
Are TV mount screws universal?
Mostly, yes. Screw sizes follow VESA standards, so an M4, M6, or M8 screw will generally work across brands as long as the length and thread match your TV.
What happens if the screw is too long for my TV mount?
It can push into the TV casing and damage internal parts or crack the screen from behind. Always check length before fully tightening.
How do I fix a stripped screw hole on a TV mount?
Try a slightly larger screw of the same thread pitch, or use a thread insert kit designed for stripped VESA holes. If the hole is badly damaged, contact the TV manufacturer for repair options.
A Few Final Thoughts
Mounting a TV feels like it should be simple, and honestly, once you know what to look for, it is. The screw size question isn’t complicated once you have your VESA number and wall type figured out.
Take your time with this one. Double-check before you drill, and don’t be afraid to dry fit everything first. Your future self, sitting comfortably in front of a securely mounted TV, will thank you.
If you’ve run into your own TV mounting mishap or have a tip that saved the day, drop it in the comments. I’d love to hear how your mount turned out, and your experience might save someone else from a wobbly TV moment of their own.