
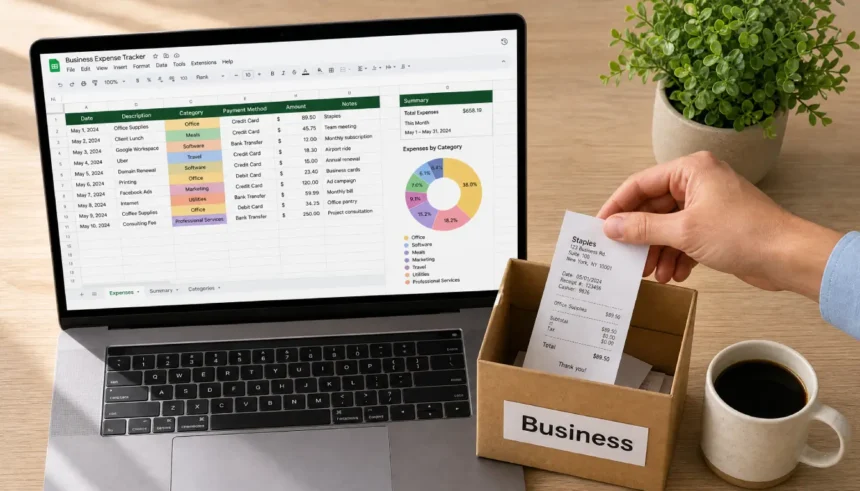
Tax time doesn’t have to feel like a scavenger hunt through your bank statements. If you’re a freelancer or small business owner staring at a shoebox of receipts, you’re not alone.
Most people think they need expensive accounting software to stay organized. You don’t. This guide shows you how to track business expenses in Google Sheets with a free template, so you can build a working system in under 30 minutes — no spreadsheet experience required.
By the end, you’ll have your own tracker, know exactly how to categorize every purchase, and feel calm instead of panicked when tax season rolls around.
Why a Free Spreadsheet Is All You Need for Expense Tracking
You don’t need a subscription to stay on top of your money. A spreadsheet does everything most small business owners actually need: it logs expenses, sorts them by category, and adds up totals in seconds.
Paid tools are built for businesses with employees, inventory, and payroll. If that’s not you yet, a spreadsheet is faster to set up and completely free.
Here’s what a good spreadsheet gives you:
- A single place to log every purchase
- Categories that match what the IRS actually asks for
- Totals you can pull up in seconds, not hours
- Full control — no monthly fee, no learning curve
This is also a simple expense tracker spreadsheet for freelancers who bill clients directly and need to prove their write-offs.
What to Prepare Before You Start (Bank Statements, Categories, and a Cup of Coffee)
Before opening a blank sheet, gather a few things. This saves you from stopping halfway through to go dig up a statement.
Grab these first:
- Your last 2–3 months of bank and card statements
- Any receipts you’ve been saving in a drawer or email folder
- A rough idea of your biggest recurring costs (software, gas, supplies)
- 30 minutes of quiet time — this isn’t a five-minute job the first time
When I started freelancing, I used a notes app to track expenses. By March, I had no idea what I’d spent on software versus coffee runs. I built a simple Google Sheets tracker one Sunday afternoon, and at tax time I exported a clean summary in two minutes. That’s the exact template I’m walking you through today.
Step-by-Step: Build Your Expense Tracker in Google Sheets
Follow these three steps in order. Each one builds on the last, so don’t skip ahead.
- Set up the core expense log — the sheet you’ll use every day.
- Add tax-ready categories with dropdowns — so entries sort themselves.
- Use a simple SUMIF formula — to see totals by category anytime.
Step 1: Create the Main Log
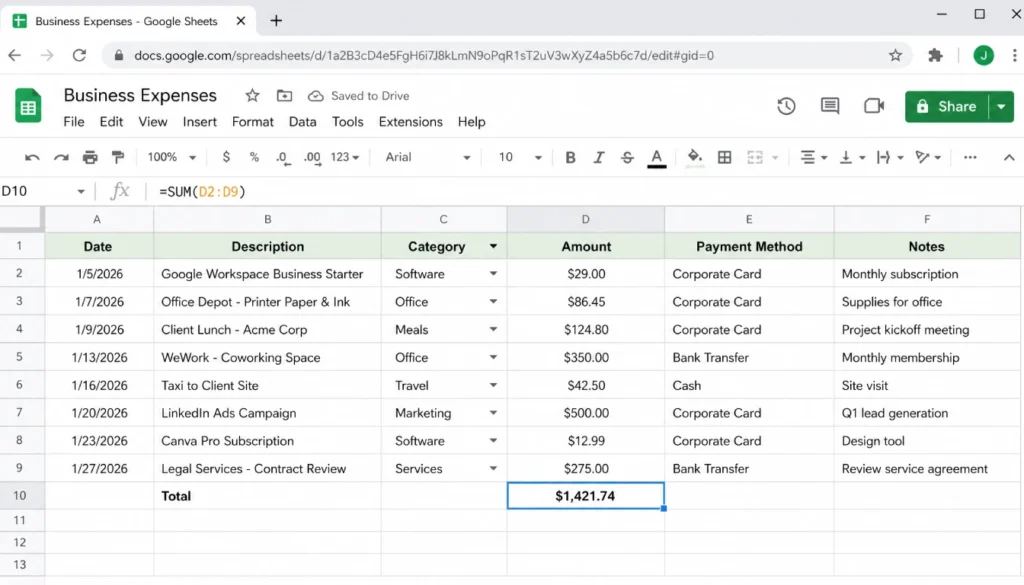
Open a new Google Sheet and label your columns across row 1:
- Date
- Description
- Category
- Amount
- Payment Method
- Notes
Keep it plain. You don’t need color coding or extra tabs yet — just a clean row for every purchase, entered as it happens.
Step 2: Add Category Dropdowns
This is the step that makes how to categorize business expenses in Excel or Google Sheets so much easier later on.
- Select the Category column (excluding the header row).
- Go to Data > Data validation.
- Choose Dropdown and list your categories (Office Supplies, Travel, Meals, Software, Advertising, Utilities, Other).
- Save. Now every new row gets a clickable list instead of free typing.
Dropdowns stop you from typing “software,” “Software,” and “SW” in three different rows. That small habit alone saves hours at tax time.
Step 3: Use SUMIF for Instant Totals
Below your log, add a small summary box. In one cell, type:
=SUMIF(C2:C500, "Software", D2:D500)
This adds up every amount in column D where column C says “Software.” Copy the formula and swap the category name for each row of your summary.
Add a Simple Monthly Summary
Create one more small table with months down the side and categories across the top. Use SUMIFS to pull totals for each month and category combination. This gives you a bird’s-eye view without opening a single report.
How to Categorize Business Expenses the Tax-Smart Way
Your categories should mirror what shows up on a tax form, not just what feels logical to you. This makes filing far less stressful.
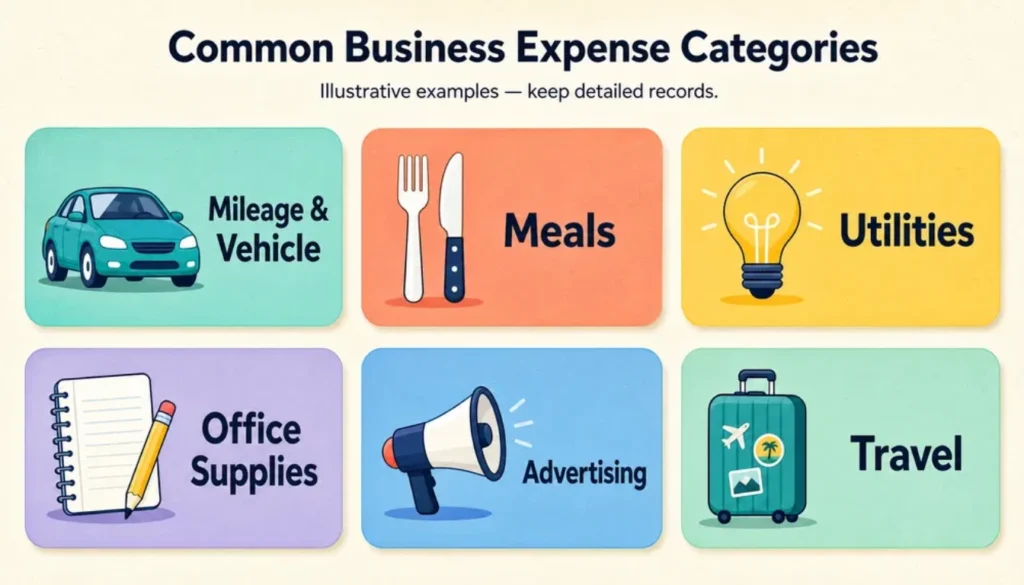
Common categories to include:
- Office supplies and equipment
- Travel and mileage
- Meals (track the business purpose too)
- Software and subscriptions
- Advertising and marketing
- Utilities and phone/internet (if you work from home)
- Professional fees (accountant, lawyer, contractor)
I’ve helped dozens of freelancers set up their first tracker, and the most common mistake is lumping everything into “miscellaneous.” That category should stay nearly empty. If more than 5% of your entries land there, your categories need adjusting.
3 Common Spreadsheet Tracking Mistakes (and How to Avoid Them)
Mistake 1: Waiting until month-end to log expenses. Receipts get lost, memories fade, and amounts get fuzzy. Log purchases the same day, or at least weekly.
Mistake 2: Mixing personal and business purchases in one account. Even if you can’t open a separate business account yet, flag personal purchases clearly so they never sneak into your totals.
Mistake 3: Skipping the “Notes” column. A one-line note (“client lunch — Acme project”) is what separates a real deduction from a guess if you’re ever asked to explain it.
Don’t overthink this system. Start with one column, one habit, and build from there.
Grab the Free Template — Google Sheets & Excel Versions
You don’t have to build this from scratch. Download the ready-made version, make a copy, and start logging today.
- Google Sheets version — click “File > Make a copy” to save it to your own Drive.
- Excel version — a free Excel spreadsheet for small business expense tracking, formatted the same way, works offline too.
Both versions include the same columns, dropdowns, and SUMIF summary described above, already built and ready to use.
Think of this spreadsheet as your daily business expense log — the more consistently you use it, the less work tax season becomes.
What’s Next? Turn Your Tracker into a Real-Time Business Dashboard
Once logging becomes a habit, you can extend the sheet with a simple chart (Insert > Chart) showing spending by category month to month. This turns raw numbers into a picture you can actually read at a glance.
You can also add a “Client” or “Project” column if you bill different clients separately, so you can see profitability project by project without extra software.
Conclusion
You now know exactly how to track business expenses in Google Sheets using a free template — no accounting background needed. Set up your log, add category dropdowns, and use SUMIF to see your totals whenever you want.
This approach works well for anyone tracking business expenses without accounting software, especially in the early stages of a freelance or small business. Start with the free template, log your first five expenses today, and build the habit from there.
Ready to get organized? Download the free template above, make your first entry right now, and drop a comment if you have questions about setting it up.