
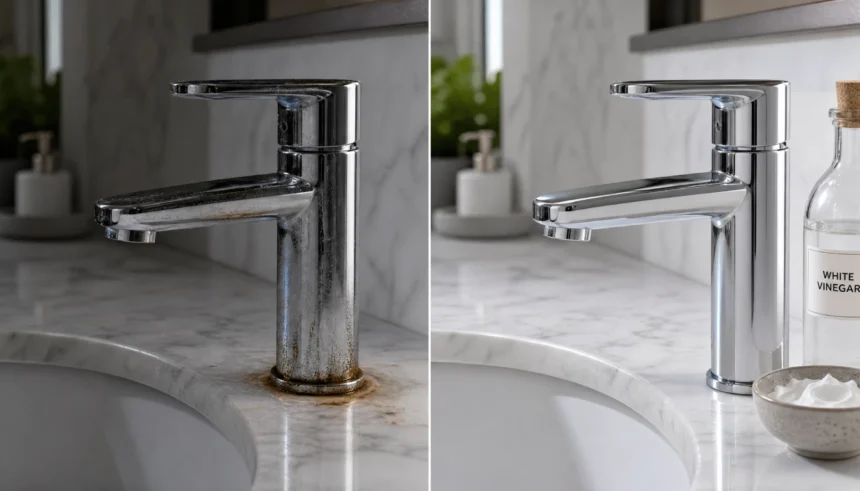
That orange ring around your faucet base did not show up overnight. It crept in, and now it is the first thing you see every time you walk into the bathroom. You have probably already scrubbed at it, maybe worried you would scratch the chrome in the process. Here is the good news: vinegar and baking soda rust removal for bathroom fixtures works, and it only needs two ingredients you already have in your kitchen.
This guide walks you through the exact steps, tells you what to expect, and covers what to do if the rust does not budge on the first try.
Why This Natural Combo Works on Bathroom Rust
Rust forms when metal fixtures sit in constant moisture, and their protective coating wears down. Vinegar is mildly acidic, so it breaks down the rust bond on contact. Baking soda adds gentle abrasion without scratching chrome or stainless steel.
Put them together, and you get a homemade bathroom rust cleaner that lifts stains without the harsh fumes of a commercial spray.
I personally dealt with a rusty faucet base that made my whole sink look grimy. I tried a store-bought rust remover first, and the fumes gave me a headache within minutes. I switched to a baking soda and vinegar paste instead, let it sit, and wiped it clean. The rust came off, and the chrome still looked new. I have used this method every few months since.
What You’ll Need
- Baking soda (about half a cup)
- White vinegar (a small amount, just enough to make a paste)
- A small bowl
- A soft toothbrush or scrub brush
- A microfiber cloth
That is the entire list. No gloves required, no ventilation needed, no trip to the store.
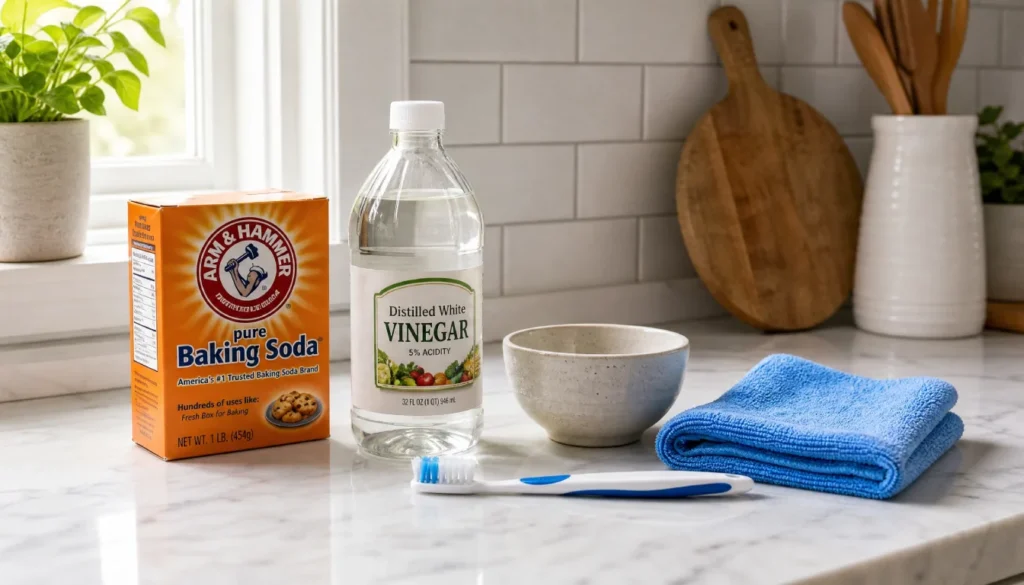
If you want to remove rust stains from bathroom fixtures without harsh sprays, this short list is really all it takes.
Step-by-Step: How to Remove Rust with Vinegar and Baking Soda
Step 1: Make the Baking Soda Paste
Pour the baking soda into your bowl. Add vinegar a little at a time, stirring as you go. Stop once it reaches a thick, spreadable paste, similar to toothpaste.
Step 2: Apply the Paste and Let It Sit
Spread the paste directly over the rusted area. Cover it completely, including the edges where rust tends to hide. Let it sit for 15 to 30 minutes. For heavier rust, you can leave it up to an hour.
Step 3: Gently Scrub Away the Rust
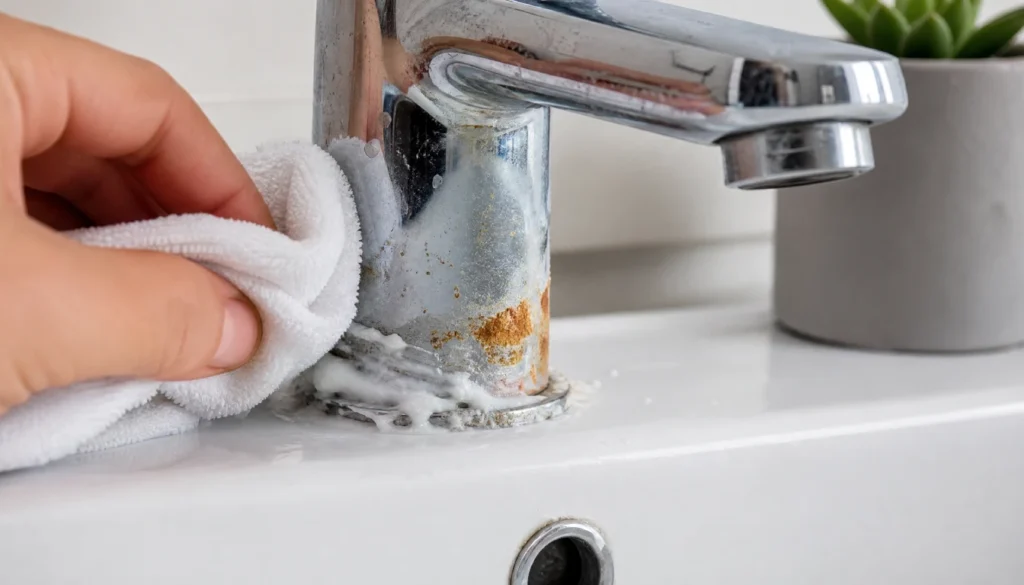
Take your soft toothbrush and scrub in small circles. Do not press hard. The paste has already loosened the rust, so light pressure is enough. You should see the orange color start lifting almost right away.
Step 4: Rinse, Dry, and Admire
Rinse the fixture with warm water to remove all paste residue. Dry it completely with a microfiber cloth. Water left sitting on chrome invites new spots, so this step matters more than people think.
What If the Rust Is Stubborn? Extra Tips
Some rust stains do not fully clear on the first attempt. If that happens to you, try these:
- Repeat the process. A second application often finishes the job the first one started.
- Let it sit longer. Stubborn spots respond well to an hour of contact time instead of 15 minutes.
- Add a little more vinegar. A slightly wetter paste reaches into pitted metal better than a dry one.
- Try a vinegar soak first. Soak a cloth in vinegar, wrap it around the rusted area for 10 minutes, then apply the baking soda paste on top.
I have walked several friends through this bathroom fixture rust removal home remedy, and the most common mistake is giving up after one round. Rust that has been building for months rarely disappears in one pass.
How to Protect Your Fixture After Cleaning
Once your fixture is clean, a little upkeep keeps rust from coming back:
- Dry fixtures after every shower or sink use, especially around the base.
- Wipe down weekly with a dry cloth even if you do not see visible water spots.
- Fix slow drips right away. Constant moisture is the main reason rust returns.
- Consider a thin coat of car wax on chrome fixtures. It adds a water-repellent layer and keeps the shine longer.
These small habits are what separate a one-time fix from a fixture that stays rust-free for good.
Your Questions Answered (Quick FAQ)
Will vinegar damage my chrome fixtures?
No. Vinegar is safe on chrome when used briefly and rinsed off. Avoid soaking chrome in straight vinegar for hours, since prolonged acid exposure can dull the finish over time.
How often should I do this treatment?
Most bathrooms need this every two to three months, depending on water hardness and humidity levels.
Can I use this method on a showerhead?
Yes. For showerheads, a vinegar soak in a plastic bag tied around the head works well before you scrub with the baking soda paste.
What if I have brass or bronze fixtures instead of chrome?
The same method works, but test on a small hidden spot first, since some finishes react differently to acid.
Is this method safe if I have kids or pets at home?
Yes. Both ingredients are non-toxic, so there is no need to clear the room or open windows the way you would with a chemical rust remover.
Final Thoughts
Vinegar and baking soda rust removal for bathroom fixtures is one of those fixes that feels almost too simple to work, until you see the rust lift right off. No fumes, no gloves, no special trip to the store. Just two ingredients, a bit of patience, and a soft brush.
Give your faucet or showerhead this treatment today, then come back and let us know in the comments how it worked for your fixture.